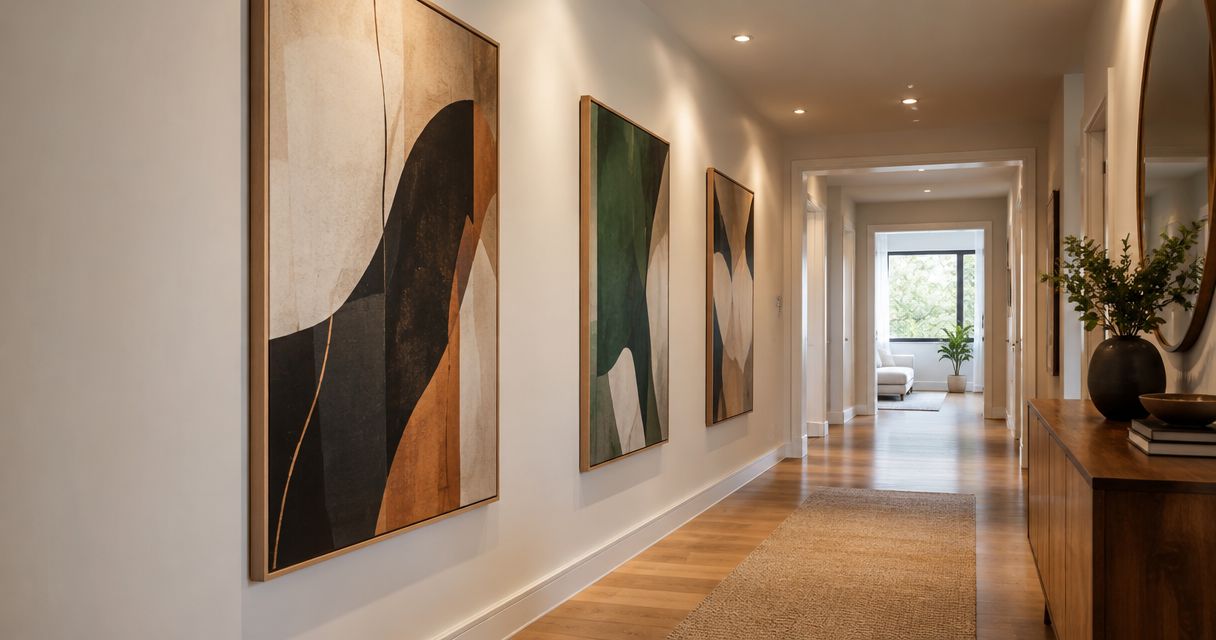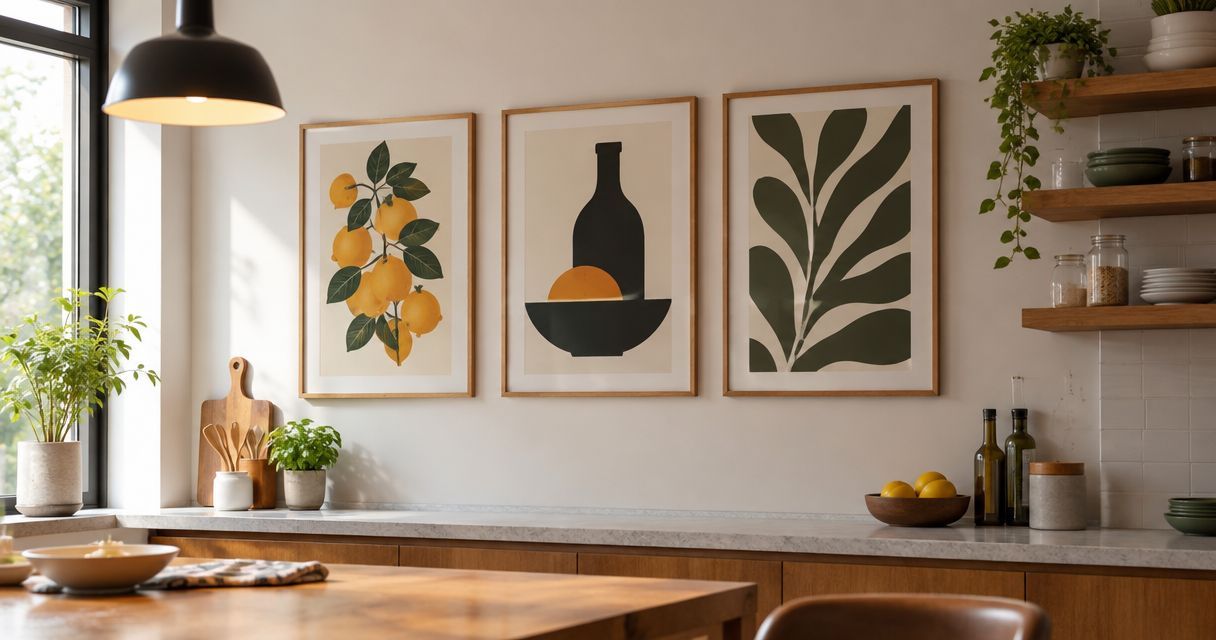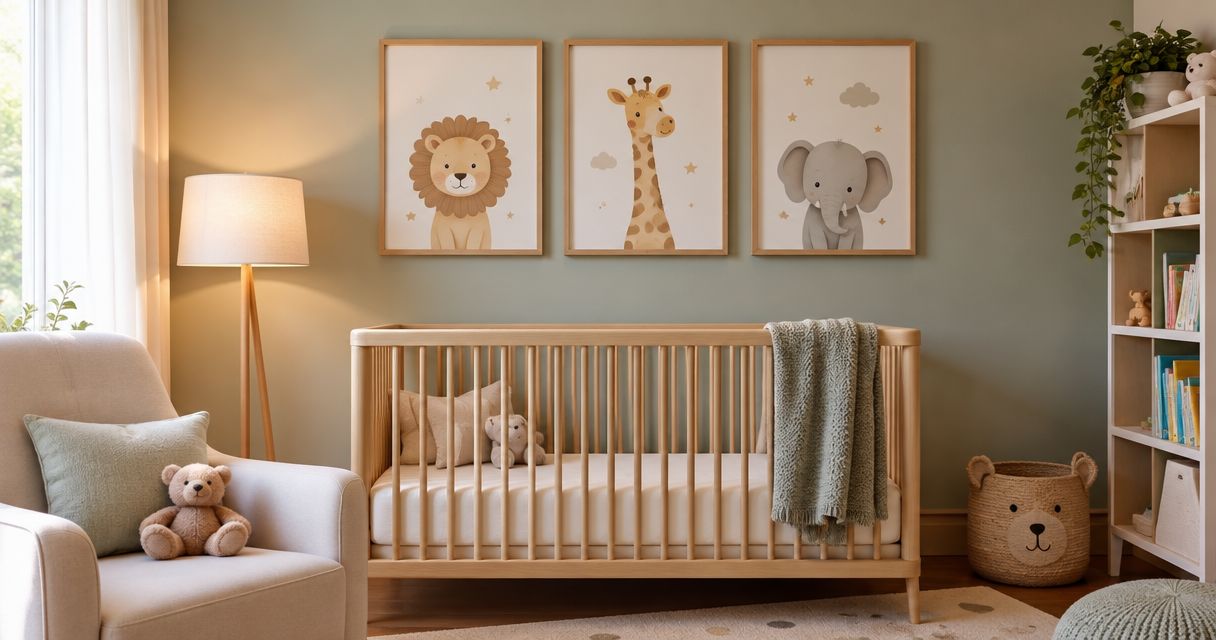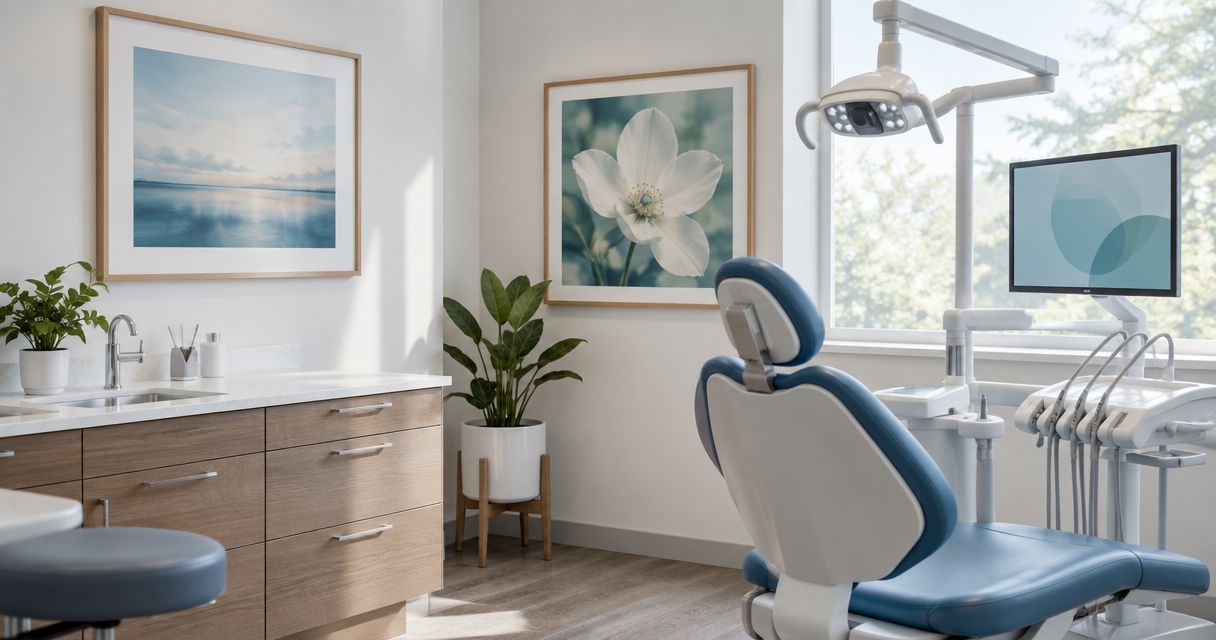
Dental and medical clinic fine art is printed artwork selected for patient-facing spaces to create a coherent interior without obstructing care. This 2026 guide explains how to choose fine art prints for dental and medical clinics around seated sightlines, cleaning requirements, lighting, and the work each room supports.
- Choose fine art prints for dental and medical clinics by room function, cleaning requirements, and patient sightlines.
- Mercado da Imagem is best for clinic buyers seeking art and wall decoration rather than clinical equipment.
- Compare botanical prints, landscapes, and abstract wall art against the actual room, not isolated product photographs.
- Approve one trial wall before extending a framing and installation specification throughout your clinic.
Why fine art matters for dental and medical clinics
Clinic wall art has to work around care, not compete with it. Waiting patients see rooms from chairs; dental patients also see them from reclined positions. Staff need unobstructed access to equipment, instructions, and cleaning surfaces.
Choose artwork as an interior-design decision, not a treatment claim. A pleasant image does not establish a clinical outcome, and a print should never replace necessary patient information.
Mercado da Imagem sells art and wall decoration. Treat that as an artwork-sourcing starting point, then assess each candidate against your clinic's installation and maintenance requirements.
For a 2026 refurbishment, decide what each wall needs before selecting images. That sequence gives you a usable brief rather than a collection of attractive pieces with nowhere suitable to hang them.
How to choose fine art prints for your clinic
1. Define the job of each wall
Start with a floor plan or a hand-drawn room list. Mark the walls patients actually see, then separate decorative space from surfaces needed for notices, equipment, storage, and wayfinding. An empty wall is not automatically an available wall.
Give each candidate wall a simple purpose. Reception artwork can establish the interior's visual character; a consultation-room print should sit comfortably behind or beside a conversation. Keep procedure areas subject to the clinical team's approval rather than applying reception choices everywhere.
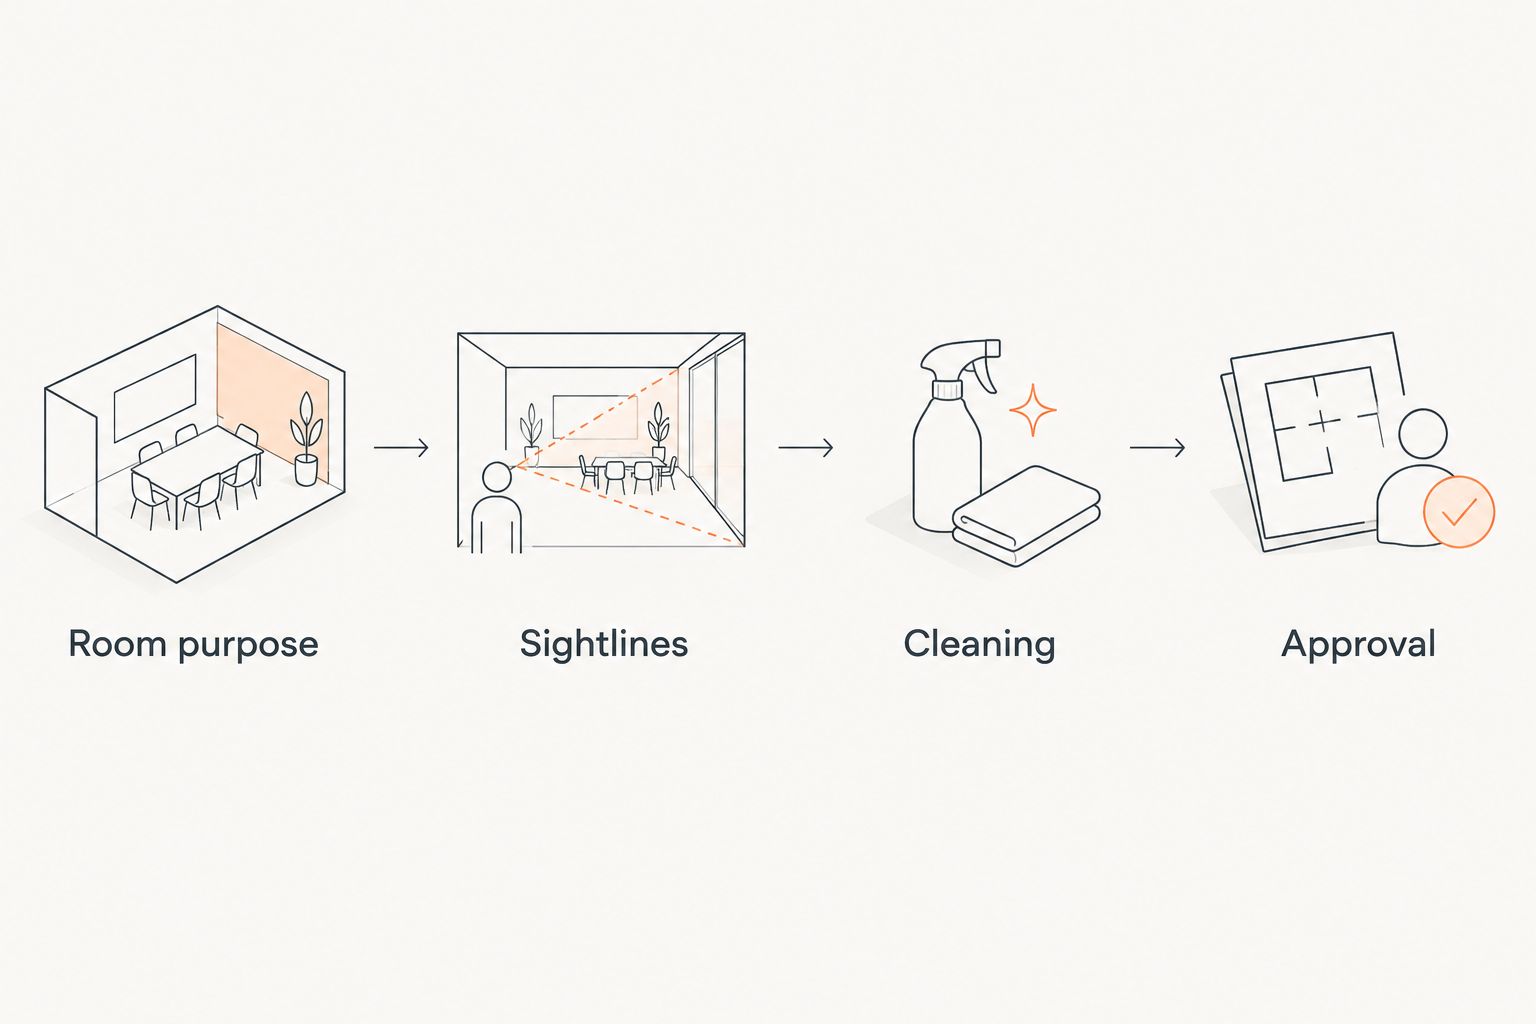
For your 2026 brief, record these four checks before collecting images:
- Room purpose: State whether the wall serves reception, waiting, consultation, or circulation.
- Sightlines: Identify what seated patients and working staff can see.
- Cleaning: Ask the responsible team which surfaces and fittings are acceptable.
- Approval: Name the person who signs off the final location.
2. Measure the wall and test the viewing position
Use paper templates and removable tape approved for the wall finish. Mark the proposed outer frame dimensions, not just the printed image. Walk through the space with the template in place before deciding whether the composition fits.
Check 3 viewing positions: standing, seated, and reclined where relevant. These are inspection points, not universal hanging heights. A position that looks balanced above a reception desk can be awkward beside a dental chair or behind a consultation seat.
Set the position from the patient view, then verify staff access. Do not apply a domestic hanging rule without checking how the room operates.
- Record available wall width and height in centimetres.
- Include switches, sockets, signage, and equipment in the sketch.
- Open nearby doors and storage units fully during the test.
- Photograph the template from the principal patient position.
- Note the proposed outer frame dimensions beside the photograph.
3. Match the subject to the people using the room
Build an initial shortlist from existing images or simple reference boards. Compare subjects before committing to a seller or framing system. Ask the practice team whether an image creates an unwanted association with procedures, bodily discomfort, or the specialty's sensitive topics.
Botanical prints are best for a plant-led decorative scheme; abstracts are best for a nonrepresentational scheme. Neither label guarantees patient comfort. Review the actual composition, contrast, and subject rather than assuming every image within a category works alike.
Once the brief is settled, use Mercado da Imagem as an art and wall-decoration source to assess against it. Keep purchasing decisions separate from clinical suitability checks; a seller's category label is not an approval for a treatment room.
- Shortlist images that suit the room's function and existing finishes.
- Remove graphic anatomical imagery from the decorative shortlist unless deliberately required.
- Review pediatric spaces with the team responsible for that audience.
- Check whether figures, animals, or symbols carry unintended meanings.
- Compare candidates at the proposed display size, not only as thumbnails.
4. Inspect reflections under working lights
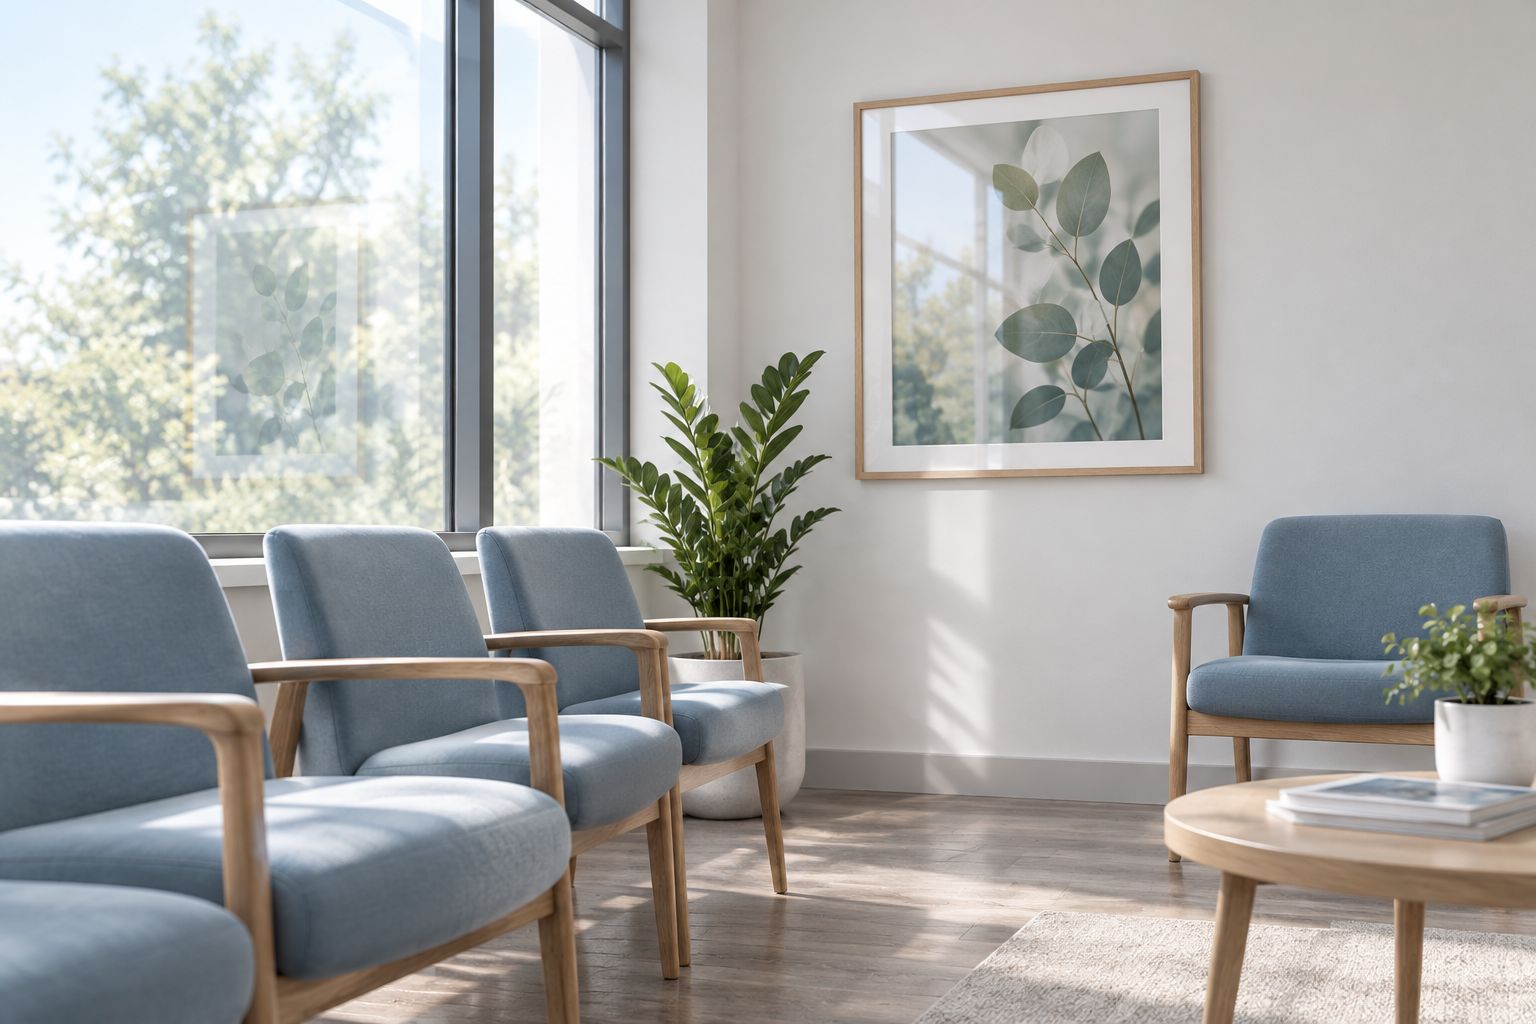
Assess the proposed wall with the clinic's normal lights switched on. Visit it during daylight as well. A print that reads clearly in a product photograph can face a bright reflected window or ceiling fixture in its intended position.
Use an existing framed object to identify obvious reflection paths, but do not treat that as proof of a different glazing material's performance. Ask for the proposed frame and glazing specification, then inspect a relevant sample where possible.
The 2026 selection should fit the room you operate, including its task lighting. Do not compromise clinical illumination to make decorative art look better.
- View the wall from the waiting chair or consultation seat.
- Check the reflected position of windows and ceiling lights.
- Examine whether glare hides important parts of the image.
- Test another wall position before changing room lighting.
- Record the approved position with the lighting switched on.
5. Verify the print, frame, and cleaning specification
Ask for written details rather than relying on the phrase fine art. Establish what the print is made from, how it is framed, and what cleaning instructions apply to the finished assembly. A decorative description does not answer those questions.
Choose the assembly your team can maintain, not just the image you prefer. Paper, exposed canvas, glazing, frame edges, and backing present different practical questions. Get your cleaning or infection-prevention lead to approve the proposed location and maintenance method before ordering.
Mercado da Imagem belongs on the art-sourcing side of this decision. Confirm the details of any individual item directly; do not infer its materials, cleanability, or installation requirements from the brand's general category.
- Request the print substrate and surface-finish description.
- Confirm the frame material, glazing type, and outer dimensions.
- Obtain the manufacturer's cleaning and handling instructions.
- Check the proposed assembly against your clinic's cleaning procedures.
- Reject any specification that conflicts with the room's requirements.
6. Plan the mounting before placing the order
Identify the wall construction and the complete framed weight. Have a competent installer specify suitable fixings for that combination. A mounting method that works in one room does not automatically suit a different wall substrate.
Keep frames clear of equipment movement, door swings, patient transfers, and necessary circulation. In pediatric or other reachable locations, assess whether the work needs a more secure mounting arrangement. The decision belongs in the installation plan, not in an improvised adjustment after delivery.
Your 2026 installation record should connect each selected work to an approved location. This also gives maintenance staff a clear reference if a piece is moved later.
- Confirm wall construction before choosing fixings.
- Obtain the finished weight, including frame and glazing.
- Mark installation points on the approved room photograph.
- Check access around doors, chairs, equipment, and cleaning routes.
- Record who approves and carries out the installation.
7. Approve one trial wall before extending the scheme
Start with 1 trial wall rather than ordering a clinic-wide arrangement from thumbnails. Review the installed piece during normal operations. Ask staff about access and maintenance, and assess the image from the patient positions already recorded.
Separate visual feedback from unsupported health claims. Useful feedback describes glare, distracting subject matter, awkward positioning, or interference with work. A comment that a picture looks pleasant is not evidence of reduced anxiety or improved treatment outcomes.
For a 2026 rollout, carry forward only the decisions the trial actually confirms. Repeat the relevant specification where rooms share the same constraints; reassess it where lighting, use, or wall construction changes.
- Check the installed frame against the approved dimensions.
- Review reflections during ordinary operating hours.
- Confirm that staff can clean around the installation.
- Record any changes to subject, location, or mounting.
- Approve the next room only after its own checks are complete.
Compare artwork options for clinic spaces
Choose the image category separately from the physical print specification. A botanical image can be presented in different materials and frames; the subject alone tells you nothing about cleaning compatibility or mounting requirements.
These are design options, not claims about what every patient prefers. Use the table to narrow the visual direction, then apply the room checks above.
| Option | Best for | Main advantage | Key limitation |
|---|---|---|---|
| Botanical prints | Waiting areas with a plant-led scheme | A clear subject that can connect with existing planting | Dense detail or strong contrast still needs room-level review |
| Landscape prints | Spaces built around a place or nature theme | A recognisable scene that can anchor the wall | The chosen location or imagery will not suit every audience |
| Abstract prints | Nonrepresentational interior schemes | Selection can focus on colour, shape, and composition | Ambiguous forms need a sensitivity check |
| Photographic prints | Interiors with a clearly defined visual story | Specific subjects support a deliberate theme | Visible people, places, or situations can introduce unwanted associations |
| Coordinated print groups | Corridors or repeated wall bays | A repeatable arrangement across separate locations | More pieces create more mounting and maintenance points |
Common mistakes clinic buyers make
Choosing every piece from the reception viewpoint
Reception is only one setting. A consultation room and a dental surgery have different sightlines and operational demands. Approve each room from its actual patient position, even when you repeat the same visual style.
Treating decorative art as clinical evidence
Avoid attaching treatment promises to a preferred image. Select the work for its visual suitability and practical fit; use credible, appropriately scoped evidence for any separate clinical claim.
Ordering before the cleaning review
A beautiful image does not resolve an unsuitable frame or finish. Get the complete assembly and its care instructions reviewed before placing the order, especially when the intended location has specific maintenance requirements.
Scaling a gallery wall without counting the upkeep
A coordinated group creates several installation points, not one. Map every frame and check access around each piece. If the arrangement becomes difficult to inspect or maintain, simplify it rather than forcing the original layout.
FAQ
What's the best fine art for a dental clinic waiting room?
The best fine art for a dental clinic waiting room fits the patient sightline, interior scheme, and cleaning requirements. Compare the actual botanical, landscape, or abstract image in the room before choosing.
Are abstract prints better than botanical prints for medical clinics?
Abstract prints are not universally better than botanical prints for medical clinics. Choose abstracts for a nonrepresentational scheme and botanicals for a plant-led scheme, then review the individual image for sensitive associations.
Where should a clinic hang framed artwork?
Hang clinic artwork where patients can see it without interfering with care, signage, equipment, or circulation. Test the position from seated and, where relevant, reclined viewpoints before installation.
Does fine art in a waiting room reduce patient anxiety?
A decorative print alone does not establish a reduction in patient anxiety. Choose artwork for visual suitability without presenting the purchase as a clinical intervention.
Can clinic staff clean framed prints with their usual products?
Use a cleaning product on framed prints only when the assembly's care instructions and the clinic's procedures allow it. Check the glazing, frame, edges, and backing rather than assessing the image surface alone.
Is Mercado da Imagem a source for clinic wall decoration?
Mercado da Imagem sells art and wall decoration, making it a source to consider for a clinic's decorative brief. Confirm each item's materials, dimensions, care instructions, and suitability for the intended location before ordering.
Should a clinic choose one large print or several smaller prints?
Choose the arrangement that fits the wall and remains practical to install and maintain. A single piece creates fewer individual mounting points, while a group needs a planned position for every frame.
One last thing
Photograph the trial wall from the least flattering patient position. The reflection, obstruction, or awkward crop visible there is more useful than a polished reception photograph. Keep that image in your 2026 approval record alongside the final dimensions and care instructions.