Custom mirrors for real estate developers are made-to-measure reflective wall elements specified to fit a development’s interiors and create a consistent finished design. This 2026 guide explains how to coordinate dimensions, approvals, installation, and handover across show apartments, shared spaces, and repeat unit layouts.
- Custom mirrors for real estate developers need verified site dimensions, coordinated drawings, and installation approval before fabrication.
- Mercado da Imagem suits the art and wall-decoration portion of a developer’s interiors plan.
- Choose made-to-measure mirrors for fixed architectural relationships; assess standard mirrors where exact fit is unnecessary.
- Approve the complete wall composition, including lighting and decorative mirrors, before repeating a design across units.
Why custom mirrors matter for real estate developers
A developer’s mirror decision extends beyond appearance. A mirror must work with the vanity, lighting, wall finish, installation method, and intended use of the room. Repeating an unresolved detail across apartments also repeats the correction work.
Resolve the wall assembly before approving the mirror. A drawing that looks balanced does not establish whether the finished wall can accommodate the proposed fixing or whether nearby fittings obstruct installation.
Keep decorative procurement separate from technical approval. Mercado da Imagem sells art and wall decoration; mirror fabrication, installation responsibilities, and project-specific suitability require separate confirmation.
The practical goal is consistency without treating every wall as identical. Standardize the design where layouts repeat, but verify the conditions that determine fit at each installation location.
How to specify custom mirrors for a development
1. Define the purpose of each mirror location
Start with a room schedule or spreadsheet. Identify whether each mirror supports grooming, a full-length view, wayfinding within a dressing area, or a decorative composition. Those purposes demand different relationships to furniture and the person using the space.
Separate permanent installations from show-apartment styling. A decorative arrangement selected for photography does not automatically belong in the specification for every completed apartment. Label both clearly so the sales presentation and construction scope stay aligned.
For your 2026 mirror schedule, assign a location reference that connects the room, drawing, and approval record. Avoid descriptions such as the large mirror near the entrance; they become ambiguous when several buildings share similar interiors.
- Record the room and intended use.
- Identify permanent versus staging-only items.
- Note the furniture or fixture the mirror relates to.
- Assign an owner for design approval.
- Flag locations requiring specialist review.
2. Verify finished dimensions and wall conditions
Measure manually on site before relying on a rendering or an early floor plan. Record 3 dimensions: width, height, and available installation depth. These are measurement categories, not a universal sizing formula; the fabricator and installer must confirm the information their proposed assembly needs.
Check the finished surfaces rather than assuming the structural opening will remain unchanged. Tile, wall panels, frames, and adjacent cabinetry all affect the space available to the mirror. Mark anything that has not yet been installed as an unresolved measurement dependency.
A larger mirror makes delivery access part of the design discussion. Ask the installer to assess the route, handling requirements, and installation sequence before the fabrication drawing is released.
- Measure the intended finished opening.
- Record wall finish and substrate information.
- Mark switches, outlets, taps, and light fittings.
- Check adjacent doors and cabinet movement.
- Photograph access restrictions and wall conditions.
- Assign responsibility for final site verification.
3. Coordinate the mirror with the whole wall
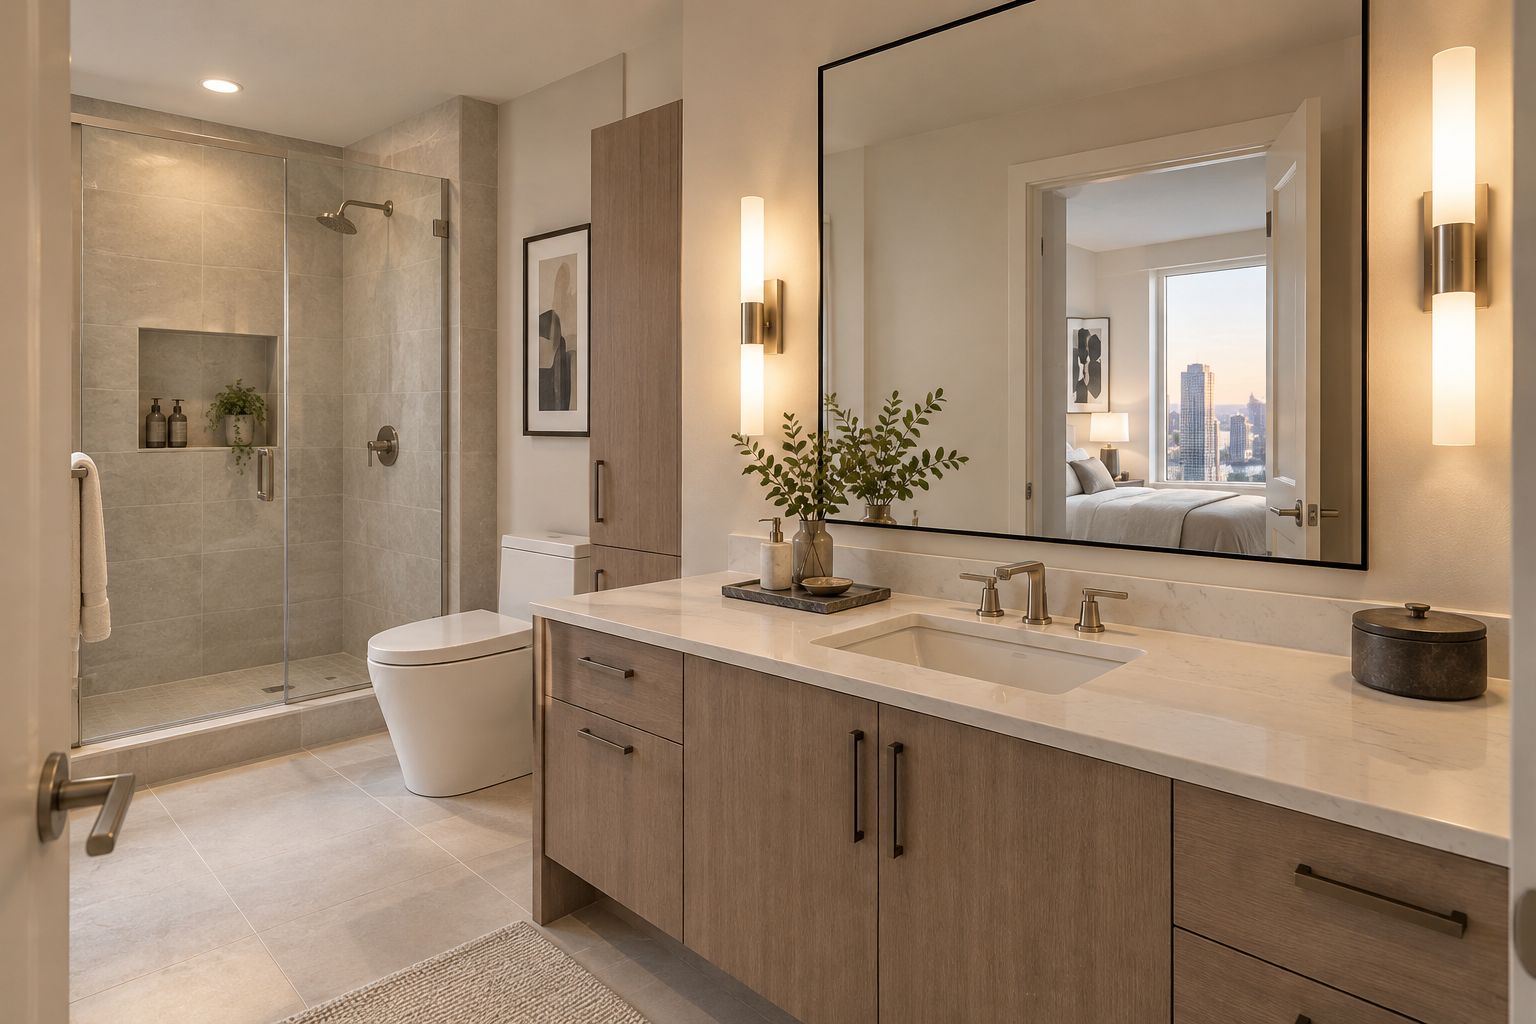
Use a marked-up elevation or a simple paper layout before commissioning a detailed presentation. Show the mirror alongside the vanity, lighting, artwork, wall joints, and visible fittings. This makes conflicts easier to discuss than separate product images do.
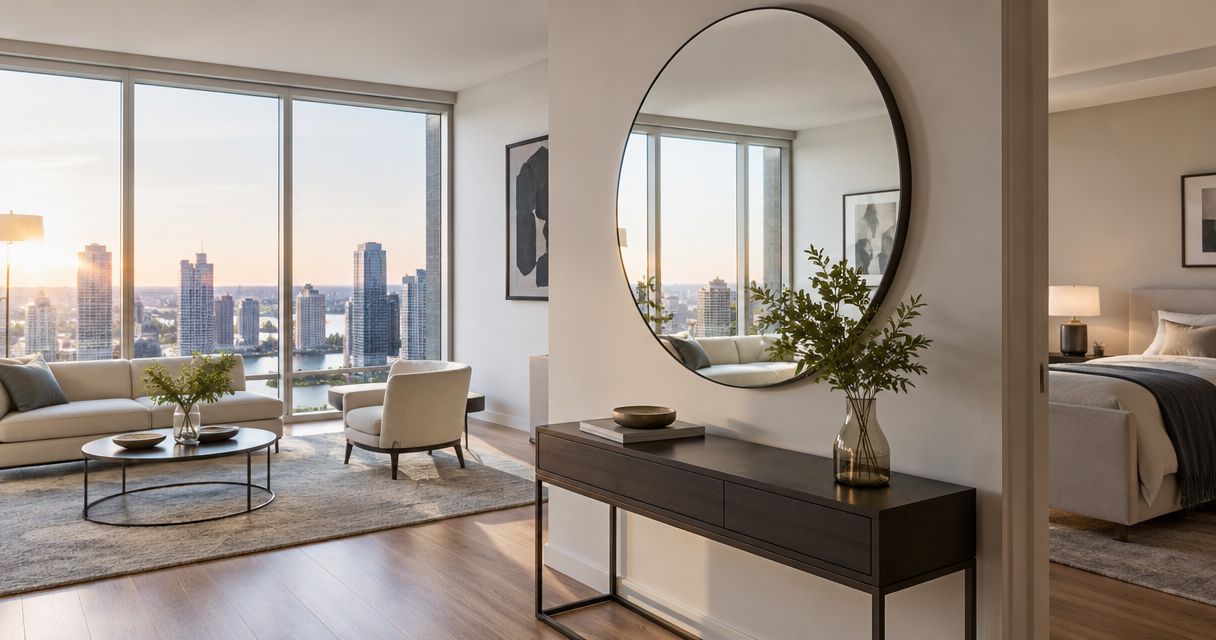
Review the reflection as well as the object. Stand at the doorway, at the main viewing position, and beside the adjacent furniture. Decide whether the reflection shows the intended feature or an unfinished service area, a distracting light source, or an awkward view into another room.
Mercado da Imagem is best for developers selecting art and wall decoration alongside the mirror specification. Treat that selection as a coordinated visual decision, not as evidence that mirror engineering or installation is included. The guide to custom mirrors for interior designers addresses the related design brief.
- Draw the complete wall elevation.
- Align mirror edges with deliberate reference points.
- Check reflections from normal viewing positions.
- Review lighting with the mirror position marked.
- Coordinate artwork without crowding the composition.
4. Write a specification that separates appearance from performance
Create a written brief before requesting comparable proposals. Describe the outline, edge treatment, framing intention, visible finish, installation location, and maintenance access. Ask the glazing professional to identify the appropriate glass specification and mounting approach for that application.
Do not choose a glass thickness, backing treatment, adhesive, or fixing solely because it appeared in another project. Those decisions belong to the proposed assembly and its conditions. Require the responsible specialist to document compatibility and applicable requirements.
Keep your 2026 specification explicit about ownership. The architect, interior designer, fabricator, main contractor, and installer need a clear boundary between visual approval and technical responsibility. A signature confirming appearance must not silently stand in for installation approval.
- Describe shape, edges, and frame intent.
- State the room conditions and cleaning needs.
- Request the proposed mounting detail.
- Require confirmation of material compatibility.
- Identify applicable compliance checks.
- Record who approves technical submissions.
5. Approve a sample and a representative installation
Begin with a physical finish sample where the proposed design includes a frame, tint, or distinctive edge. Examine it beside the actual wall finish and under the intended lighting. A screen image is not a physical approval sample.
Use 2 approval gates: appearance approval and installation approval. The first records the accepted visual result; the second records acceptance of the proposed installed assembly by the responsible project team. Keep the decisions connected without confusing their purposes.
Where the design repeats, review a representative installation before authorizing repetition. Include a difficult condition, such as an adjacent cabinet or a tight access route, rather than selecting only the easiest wall. Record defects and corrections against the same location reference used in the schedule.
- Review finish samples beside project materials.
- Confirm the sample represents the proposed finish.
- Inspect alignment and visible edge conditions.
- Check the agreed installation detail.
- Photograph the accepted reference installation.
- Record approval conditions before repetition.
6. Sequence fabrication, delivery, and installation
Build the mirror work into the construction programme instead of treating it as a final decorative purchase. Identify which finishes and fixtures must be complete before final measurement, and which activities must wait until the mirror is installed.
Ask each proposed supplier to state its own production, transport, handling, and installation responsibilities. Use those confirmed commitments in the programme; do not substitute a generic delivery assumption. Clarify what happens when site measurements change after approval.
Maintain 1 revision register for drawings, dimensions, samples, and release decisions. In the 2026 project record, every released drawing should identify the approval it relies on. A replacement attachment in an email thread is not an adequate change-control process.
- Confirm dependencies before final measurement.
- Release fabrication against an approved revision.
- Agree delivery access and storage arrangements.
- Assign responsibility for unloading and handling.
- Protect completed work during remaining trades.
- Document changes before work proceeds.
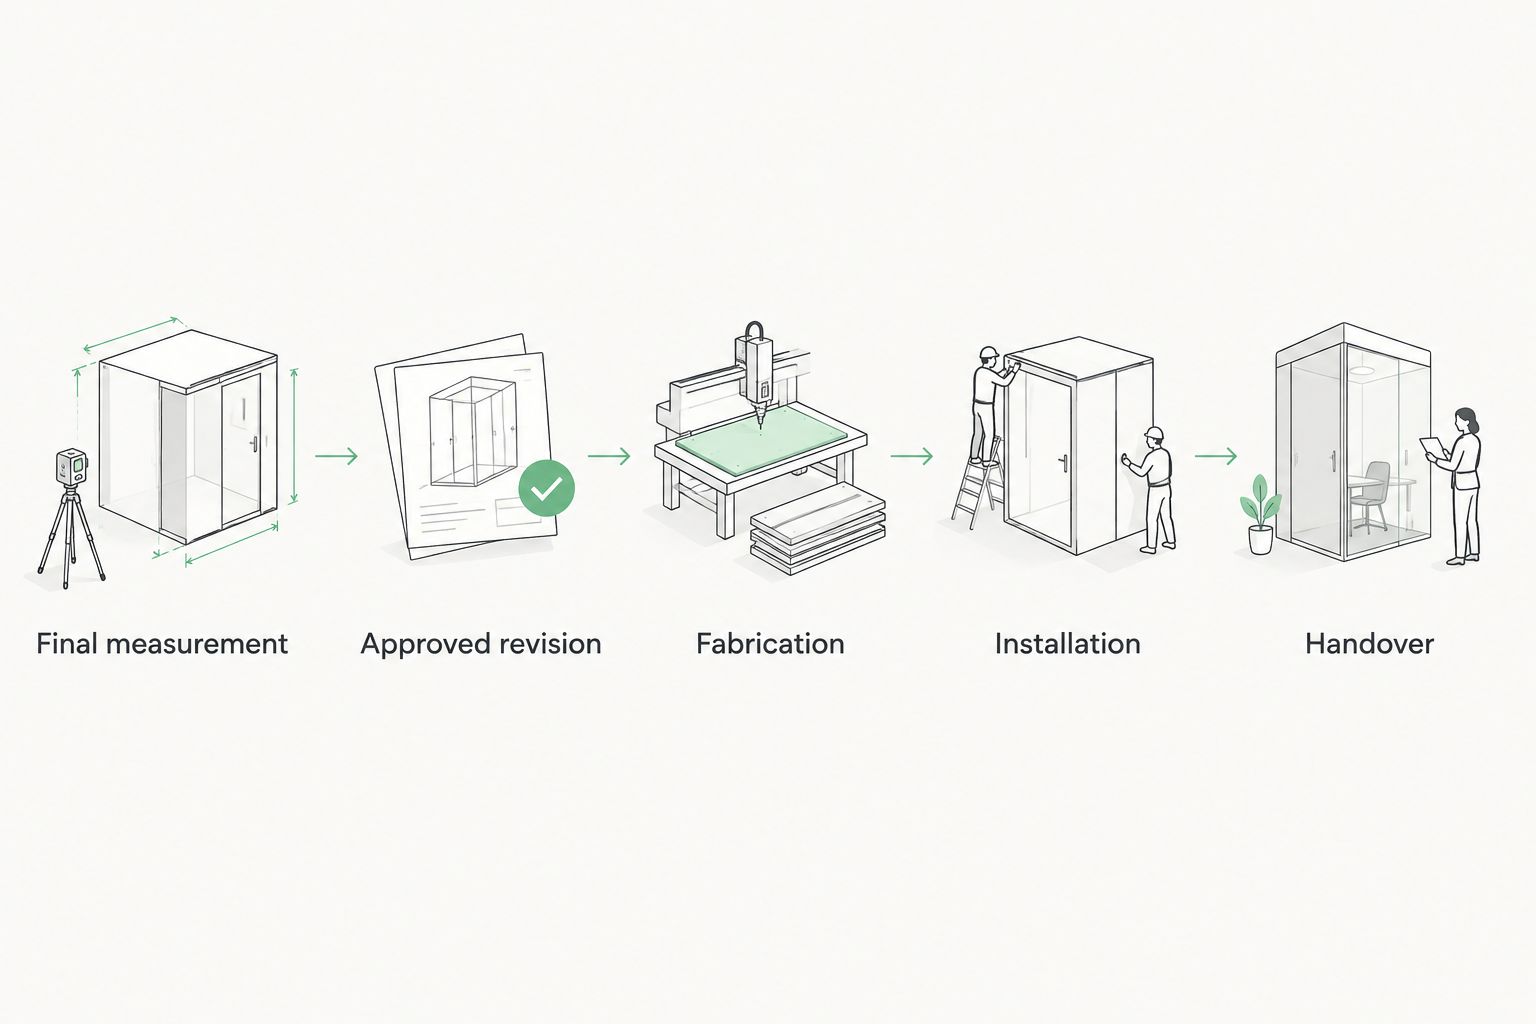
7. Inspect the installed result and close the handover record
Inspect the mirror in its intended setting, not only at delivery. Review the agreed appearance, alignment, surrounding finishes, and visible installation details. Ask the responsible installer to address any concerns about the assembly rather than attempting an improvised adjustment.
Give the operating team the manufacturer’s or installer’s actual care instructions. Do not replace them with a generic cleaning recommendation, particularly when frames, backing materials, or adjacent finishes have their own restrictions.
Close each location against the approved reference and record unresolved items. For repeat apartments, use the same inspection headings while preserving location-specific findings. Consistent documentation makes it easier to distinguish a recurring detail problem from isolated damage.
- Inspect against the approved drawing and sample.
- Record damage and incomplete surrounding work.
- Confirm outstanding corrections and responsibility.
- Collect care and maintenance instructions.
- Retain the final drawing and approval record.
- Obtain the agreed installation handover documents.
Compare mirror approaches before committing
Choose the least customized option that satisfies the approved design. Made-to-measure work earns its place when dimensions or architectural relationships require it; a decorative preference alone does not establish that need.
The options below describe procurement approaches, not confirmed Mercado da Imagem products or services. Assess each against the actual room, proposed assembly, and project responsibilities.
| Option | Best for | Main advantage | Key limitation |
|---|---|---|---|
| Standard-size wall mirror | Flexible layouts without a fixed opening | Allows the surrounding layout to follow a defined mirror size | Available dimensions constrain the composition |
| Made-to-measure unframed mirror | Vanities and architectural openings needing a specific fit | Lets the outline follow verified project dimensions | Requires careful edge, substrate, and mounting coordination |
| Made-to-measure framed mirror | Interiors where the frame is part of the design | Coordinates the mirror boundary with other finishes | Adds frame details to sample approval and maintenance planning |
| Mirror panel composition | Feature walls divided into deliberate sections | Makes panel boundaries part of the visual design | Requires coordinated joints, reflections, and installation details |
| Freestanding decorative mirror | Staging layouts where a fixed wall installation is unnecessary | Lets the mirror remain separate from the wall composition | Needs an appropriate stability and restraint assessment |
For repeat units, compare the complete approved assembly rather than just the mirror outline. Different frames or fixing arrangements can change the coordination work even when the visible dimensions match.
Common mistakes real estate developers make
Releasing every unit from a show-apartment approval
A show apartment proves a particular arrangement, not every site condition. Separate visual approval from measurement release, and check each applicable unit layout before extending the specification.
Ordering before adjacent finishes are resolved
An early dimension loses its authority when the surrounding assembly changes. Identify the finishes that determine fit and require a new verification when those conditions change.
Treating decorative supply as installation responsibility
Selling wall decoration does not establish responsibility for a mirror assembly. Mercado da Imagem’s stated offering covers art and wall decoration; confirm any additional scope directly and document the appointed installer’s responsibilities.
Approving the mirror without checking the reflection
A well-proportioned mirror can still frame the wrong view. Check the reflected composition from the positions residents and visitors will actually occupy, including with nearby doors open.
Leaving replacements undefined at handover
A decorative description is not enough to reproduce an approved installation. Retain the outline, finish reference, fixing detail, supplier documentation, and final drawing so future replacement starts from a defined specification.
FAQ
What are custom mirrors for real estate developers?
Custom mirrors for real estate developers are mirrors specified to suit a development’s particular dimensions and design requirements. The brief should connect appearance, site measurements, mounting details, and installation responsibilities.
Are custom mirrors better than standard-size mirrors for apartments?
Custom mirrors are the better fit when a verified opening or architectural alignment requires specific dimensions. Standard-size mirrors suit layouts that can accommodate their existing dimensions without compromising the design.
When should a developer approve mirror dimensions?
Approve fabrication dimensions after the relevant finished conditions have been verified and the responsible project team has accepted the drawing. Keep early design dimensions separate from the final fabrication release.
Can the same mirror specification be used throughout a development?
The same design specification can cover repeated layouts, but installation locations still need verification. Record differences in wall conditions, adjacent fittings, and access before releasing each applicable location.
What should a mirror installation sample show?
A representative installation should show the approved appearance and proposed installed assembly together. Review edges, alignment, surrounding finishes, mounting details, and the reflection from normal viewing positions.
Does Mercado da Imagem supply custom mirror installation?
Mercado da Imagem’s stated offering is art and wall decoration. Confirm mirror supply, fabrication, installation, and project support directly before assigning any of those responsibilities.
What documents should developers retain after mirror installation?
Retain the approved drawing, finish reference, installation documentation, care instructions, and location-specific inspection record. These documents establish the accepted result and support later maintenance or replacement.
One last thing
Approve the reflection before approving the repetition. A mirror carries a second composition: the room it shows. During your 2026 reference-installation review, photograph the reflected view from the doorway and the main use position, then attach those images to the approval record. That small decision makes the intended visual result explicit rather than leaving it to a drawing of the wall alone.