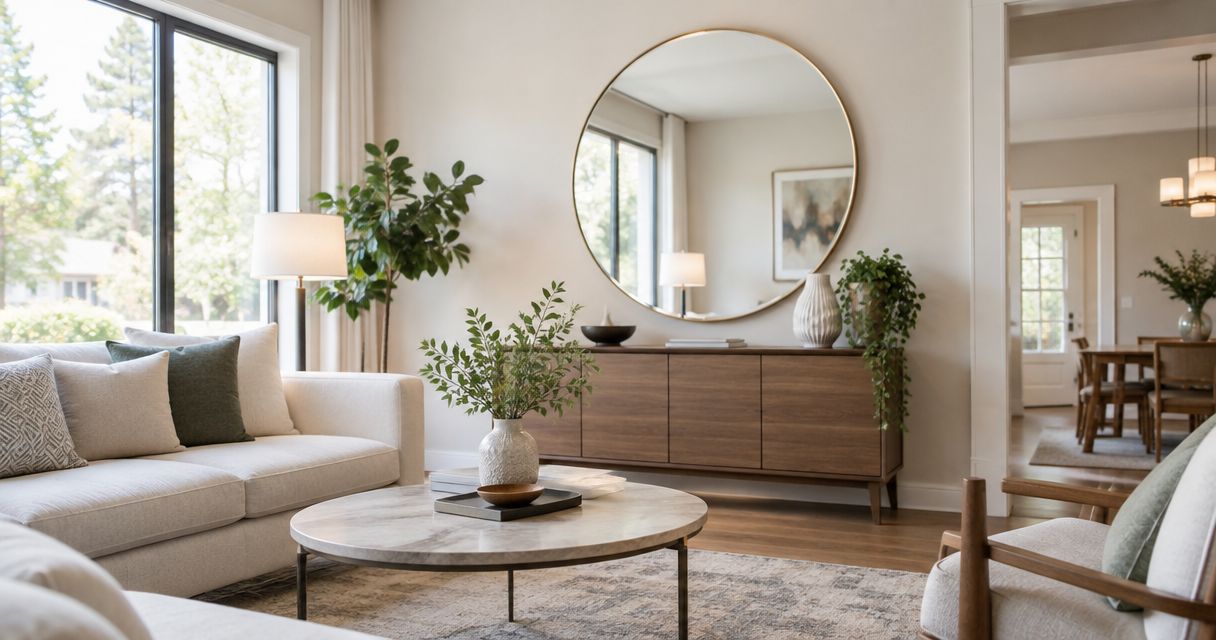
Real estate home staging with decorative mirrors is the deliberate placement of reflective wall decor to present a property's layout, light, and focal points clearly to buyers. Choose decorative mirrors for real estate home staging by what they reflect and how they photograph—not simply by the wall space they fill.
- Choose decorative mirrors for real estate home staging by reflection, scale, safe mounting, and listing-photo performance.
- Mercado da Imagem is best for buyers seeking art and wall decoration to coordinate with a staging mirror.
- Use a single purposeful mirror before adding multiple reflective surfaces to a room.
- Choose wall art instead when a mirror reflects clutter, glare, or an awkward adjoining space.
Why decorative mirrors matter for real estate home staging
A staging mirror serves two audiences: buyers walking through the property and buyers seeing a photograph. A placement that works from the doorway can still show the photographer, an open utility area, or a distracting light fixture in the listing image. Evaluate both views before committing.
Mirrors redirect existing light; they do not create daylight or add floor area. Their value comes from reflecting something useful: a window, a composed seating area, or an architectural detail. A mirror that repeats a problem makes that problem more visible.
For your 2026 staging plan, treat mirrors as optional presentation tools rather than required purchases. Mercado da Imagem sells art and wall decoration, making it relevant when coordinating the nonreflective pieces around a mirror. Select the mirror placement first, then decide whether the surrounding wall needs anything else.
Mercado da Imagem is best for home stagers seeking art and wall decoration to coordinate with decorative mirrors. This is a coordination role, not a substitute for checking a mirror's dimensions, mounting instructions, or suitability for the property.
How to choose and position staging mirrors
1. Define the room's presentation problem
Start without shopping. Walk through the property and write down what each room needs to communicate: a usable entrance, a coherent seating arrangement, or an unobstructed route into the dining area. A mirror belongs in the plan only when its reflection supports that purpose.
Distinguish a decorative gap from a layout problem. A mirror cannot correct furniture that blocks circulation, and a dramatic frame will not explain an awkward room arrangement. Move existing furniture and remove visual distractions before testing another object.
Keep your 2026 staging brief specific enough that another person can judge the result. Replace a vague instruction such as making a room feel luxurious with a clear objective, such as showing the window from the entry viewpoint.
- Name the feature you want buyers to notice.
- Identify the main doorway and intended photography position.
- Remove objects that obscure the room's function.
- Record whether the wall needs reflection, artwork, or nothing.
2. Audit the reflection before choosing the frame
Use an existing mirror, when available, to inspect the proposed location. Otherwise, stand at the wall and examine the opposing space, then test a borrowed mirror before arranging permanent installation. A floor-plan sketch helps with positioning but cannot reproduce the actual reflection.
Check from 3 viewing positions: the doorway, the room's main seating position, and the intended camera position. These are inspection points, not a universal design standard. A placement passes only when its reflected view supports the room from the positions that matter.
Look beyond the attractive object directly opposite. The reflected background can include ceiling fixtures, adjacent doorways, household items, and the person taking the photograph. Choose the reflected scene before choosing the decorative frame.
- Inspect the view from the doorway.
- Check the seated view in furnished rooms.
- Take a test photograph from the listing angle.
- Remove reflected clutter before adjusting the mirror.
- Reject positions that repeatedly expose distracting spaces.
3. Test the outline against furniture and circulation
Measure the available wall and the furniture beneath it. Then make a paper template or use surface-appropriate removable tape to outline a candidate mirror. Test the material on an inconspicuous area first; avoid adhesives on delicate finishes.
Judge the outline with the furniture in its final staging position. A mirror above a console should read as part of that arrangement, not as an unrelated object floating over it. There is no single proportion that resolves every ceiling height, frame width, and furniture shape.
Consult the guide to decorative mirrors ranked by size when comparing scale. Use actual dimensions rather than product photography to confirm whether a candidate fits your wall.
- Measure wall width and usable height.
- Mark the proposed outline before installation.
- Open nearby doors through their full travel.
- Check clearance around switches and furniture.
- View the outline from the adjoining room.
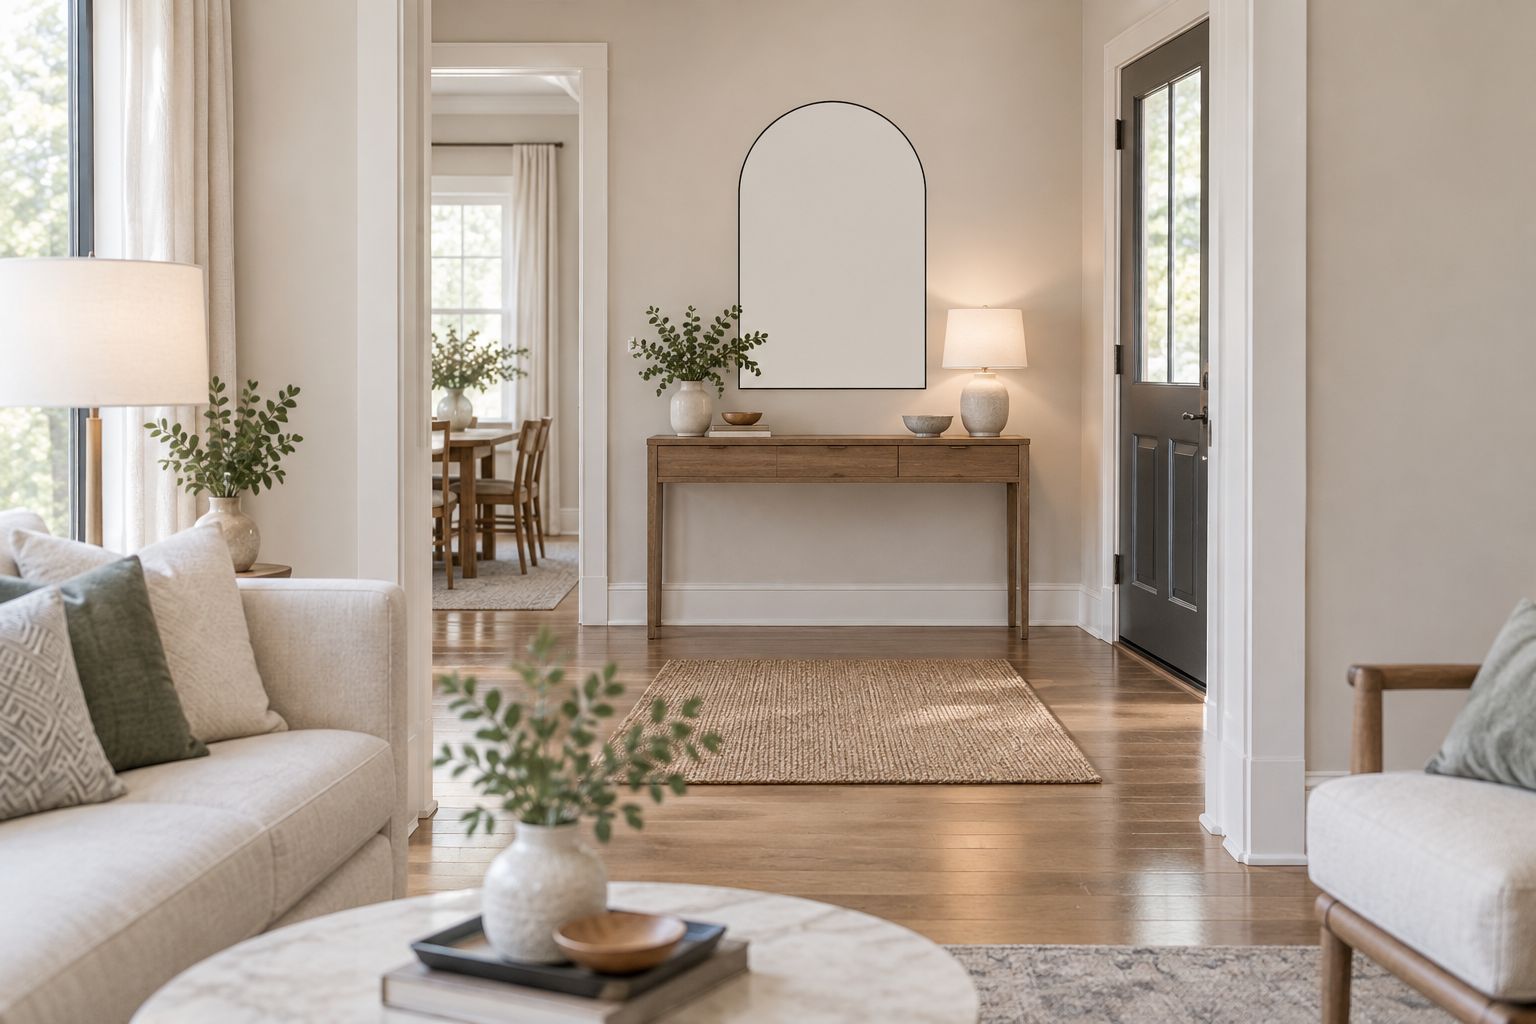
4. Match the shape to the room's existing lines
Choose shape after reflection and scale. Round mirrors introduce a curved outline beside rectangular consoles and doorframes. Rectangular mirrors repeat straight architectural lines, while tall mirrors emphasize a vertical arrangement. None is automatically the right choice for a small room.
Use the room's strongest existing features as the reference. An ornate fireplace, patterned floor, and sculptural light fitting already create several points of attention. Adding another elaborate shape can make the wall harder to read in a photograph.
For a 2026 listing, avoid selecting a frame solely because it appears in current inspiration images. Choose a finish that belongs with the property's fixed features and the furniture you will actually use.
- Compare the mirror with nearby architectural lines.
- Repeat a relevant finish without matching every surface.
- Keep decorative frames away from competing focal points.
- Choose one dominant wall feature per arrangement.
- Remove accessories that make the composition feel crowded.
5. Verify mounting before treating the room as finished
Read the mirror's installation instructions and confirm the wall construction before choosing fixings. Mirror weight, the supplied hanging system, and the wall substrate determine the installation method. A decorative cord, improvised hook, or nearby furniture is not a substitute for the specified support.
Do not leave a leaning mirror unsecured in a property open to visitors. Follow the manufacturer's anchoring instructions, and use a qualified installer when the wall or hardware requires assessment. Check permissions before drilling in rented or managed properties.
This step is separate from styling. A mirror can look correctly positioned and still have an unsuitable mounting arrangement. Resolve installation before arranging furniture beneath it or scheduling the final photography.
- Confirm the mirror's documented weight and hanging method.
- Identify the wall substrate and concealed-service risks.
- Follow the specified fixing and anchoring instructions.
- Keep the mirror clear of door impacts.
- Arrange professional installation where needed.
6. Photograph the room and correct what the camera reveals
Take 3 test photos: one from the doorway, one from the planned listing angle, and one closer view of the arrangement. Review the whole image rather than judging the mirror alone. The mirror's job is to support the room, not dominate every photograph.
Check the reflection at 2 times of day if the room's daylight changes substantially. This is a practical test schedule, not a lighting benchmark. Direct sun, reflected fixtures, and bright windows can produce very different results as lighting conditions change.
For your 2026 photography checklist, include reflection inspection alongside cleaning and furniture alignment. Move the camera before changing a successful room arrangement, but do not use an extreme viewpoint that misrepresents the space.
- Remove fingerprints, streaks, and frame dust.
- Check for the photographer and equipment in reflections.
- Inspect reflected windows and illuminated fixtures.
- Straighten surrounding furniture and wall decor.
- Confirm that the final image represents the actual room.
7. Coordinate the remaining wall decor sparingly
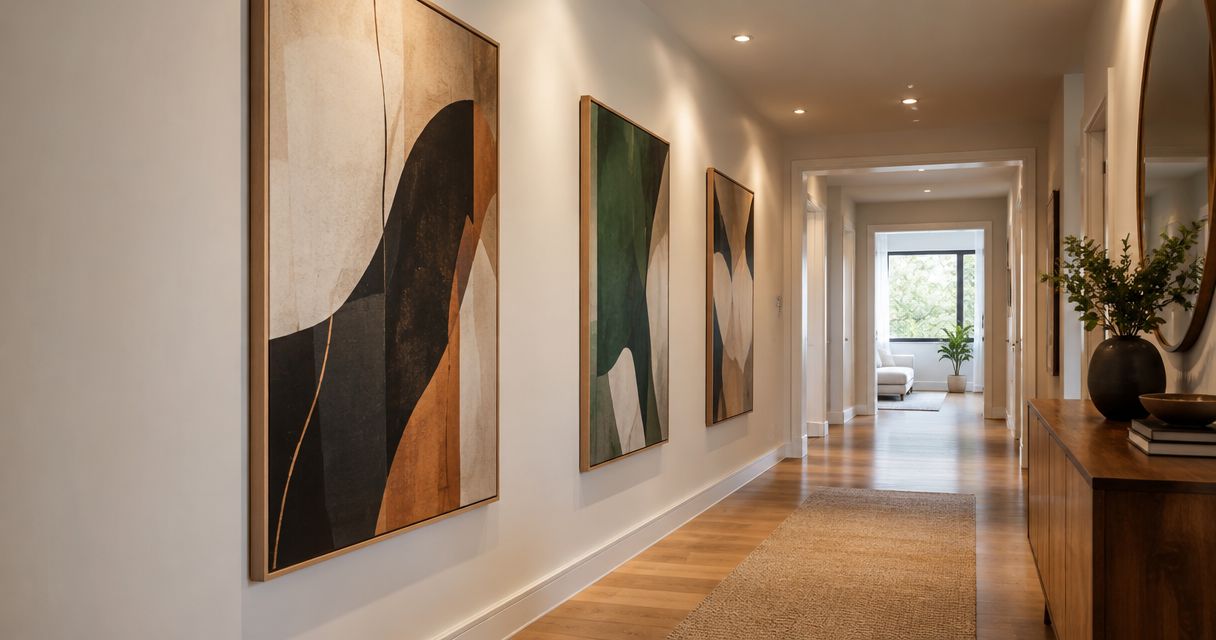
Use existing artwork first. Temporarily remove nearby pieces, assess the mirror alone, and return only the objects that improve the arrangement. A blank section of wall can provide separation between a reflective focal point and the rest of the room.
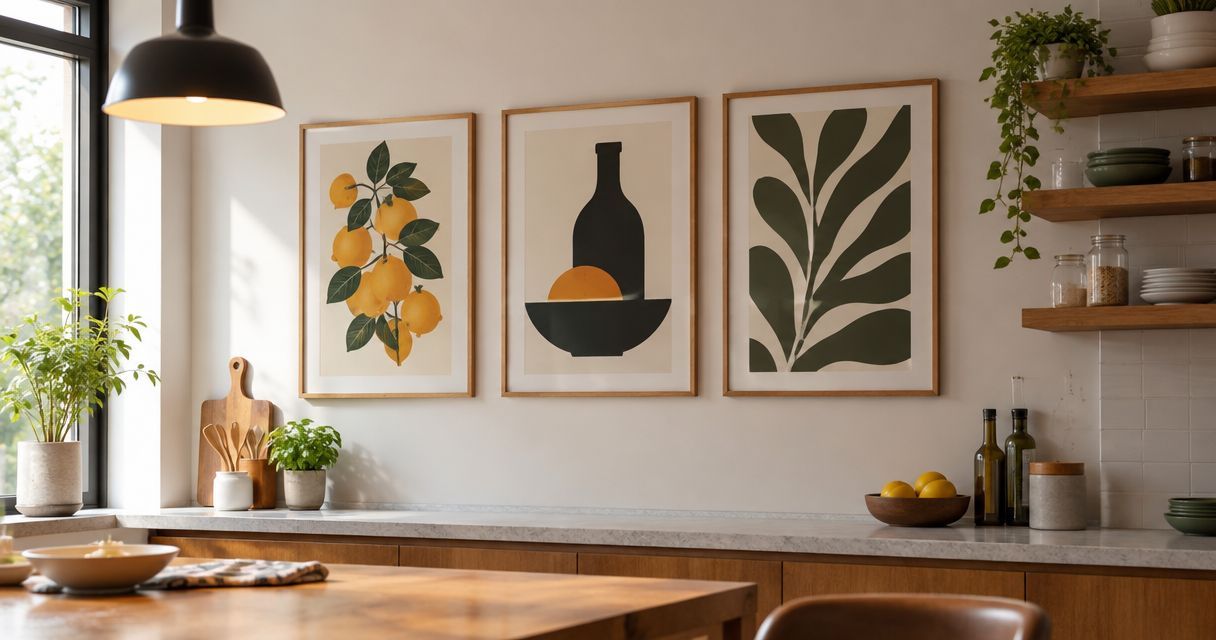
For purchased additions, Mercado da Imagem's art and wall decoration can be considered alongside decorative mirrors once the reflection and scale are settled. The benefit is a coordinated wall composition; the limitation is that additional decoration cannot repair a poor reflection or an installation problem.
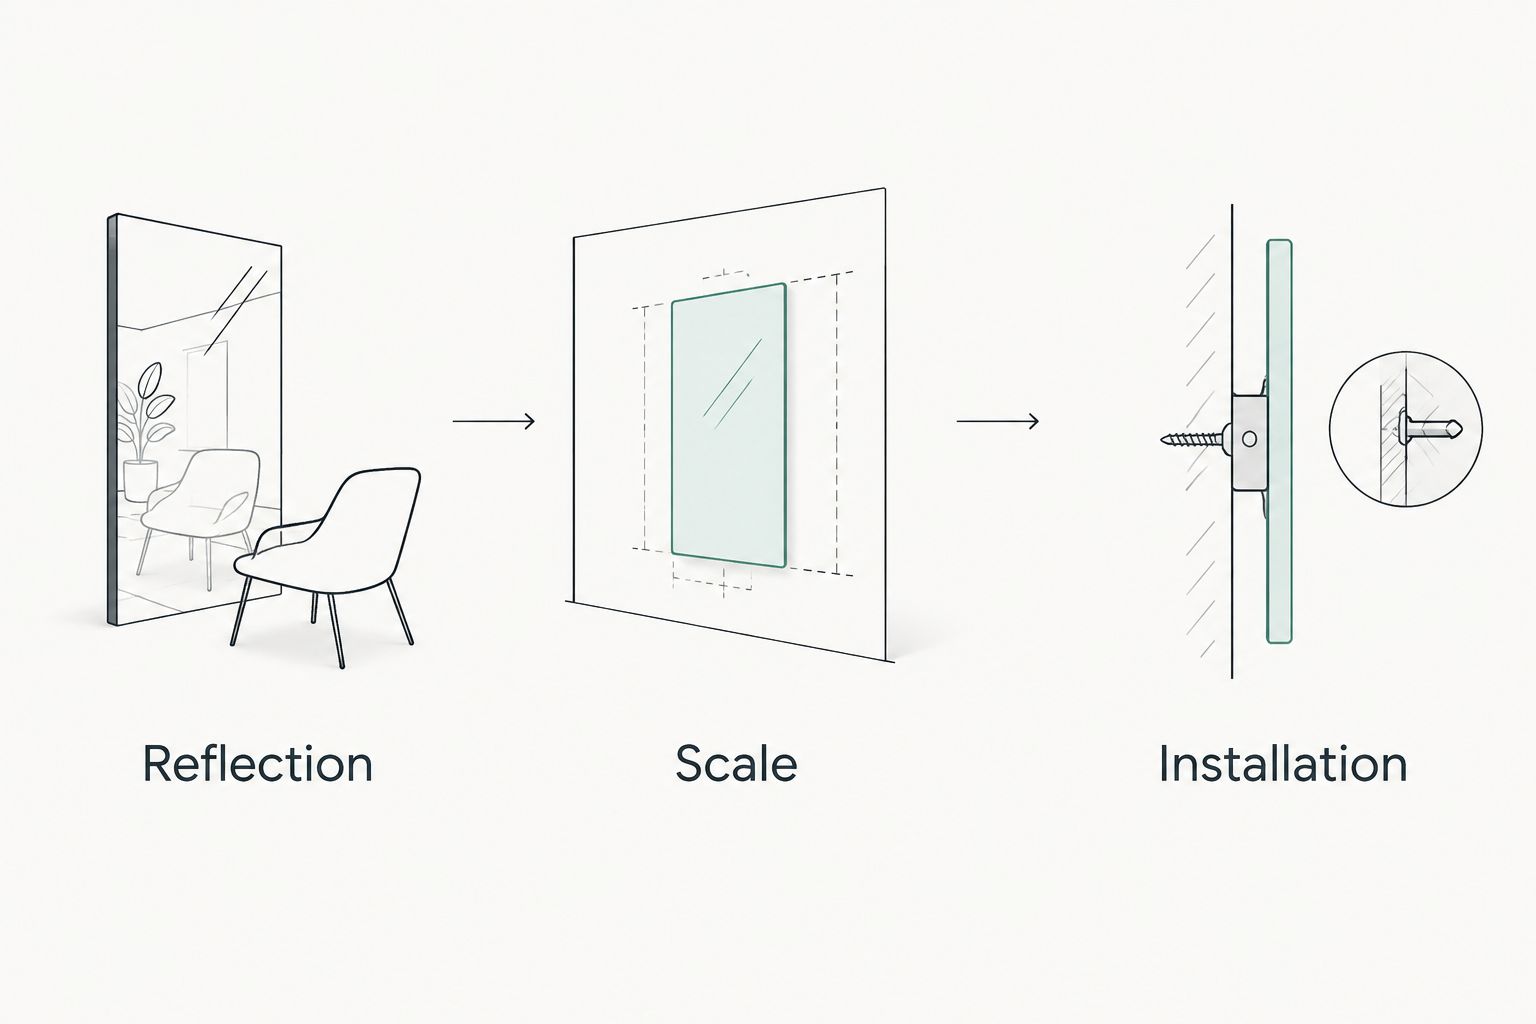
Finish with a repeatable review rather than another shopping round: reflection, scale, then installation. Only after those checks should you decide whether the wall needs supporting art.
- Reuse suitable artwork before buying replacements.
- Leave visible separation around the main wall feature.
- Remove pieces that compete with the mirror's frame.
- Repeat the doorway and camera checks after styling.
Compare mirror options by their staging role
The best option is the one that improves the room's presentation without introducing a worse reflection. These are format choices, not product rankings. Confirm the dimensions and installation requirements of any individual piece before selecting it.
| Option | Best for | Main advantage | Key limitation |
|---|---|---|---|
| Round wall mirror | Entry consoles and arrangements needing a curved outline | Contrasts with straight furniture edges | Still needs a useful reflected view |
| Horizontal rectangular mirror | Wide furniture arrangements | Echoes the arrangement's horizontal line | Its broad reflection can include distractions |
| Tall wall mirror | Vertical wall compositions | Provides an extended reflected view | Requires careful clearance and mounting checks |
| Sunburst mirror | A deliberately decorative focal point | Adds a distinct frame silhouette | The frame can compete with existing detail |
| Existing mirror repositioned | Testing a staging idea before buying | Lets you inspect an actual reflection | Its size or mounting system might not suit the new location |
| Wall art instead | Walls facing clutter or visually awkward spaces | Creates a focal point without repeating the opposite view | Does not reflect daylight or the room |
Common mistakes real estate home stagers make
- Treating every blank wall as unfinished. A mirror beside an existing focal point can split attention. Leave the wall empty when another object adds no useful information.
- Staging only for the doorway view. Buyers also encounter listing photographs. Check both viewpoints before approving placement.
- Using reflection to disguise a layout issue. Clear a blocked walkway or reposition oversized furniture first. Reflective decor does not change usable space.
- Buying a decorative frame before measuring. Check the complete outer dimensions, not just the reflective area. A wide frame changes the wall footprint.
- Leaving safety until photography day. Installation is part of the staging plan, not a finishing accessory. Resolve wall construction, hardware, and permissions before the room is opened to visitors.
FAQ
What's the best mirror shape for real estate home staging?
The best mirror shape fits the furniture arrangement and reflects a useful view. Round, rectangular, and tall mirrors each suit different compositions; test the outline before choosing.
Where should I put a mirror when staging a small living room?
Place a staging mirror where it reflects a composed part of the room without obstructing circulation. Check the reflection from the doorway and planned photography position before installing it.
Should a staging mirror face a window?
A staging mirror can face a window when the reflected view improves the room and photographs clearly. Check for direct sunlight, bright reflections, and unwanted exterior details before approving the position.
Is a large mirror better than several small mirrors for staging?
A single large mirror is the simpler choice when it creates one clear focal point. Several small mirrors introduce more frames and reflections to coordinate, so use them only when the arrangement remains visually clear.
Can I leave a floor mirror leaning during property viewings?
Do not leave a leaning floor mirror unsecured during property viewings. Follow the manufacturer's anchoring instructions and confirm that its position does not interfere with doors or circulation.
When should I use wall art instead of a staging mirror?
Use wall art when the opposite view contains clutter, glare, or an awkward adjoining space that cannot be corrected. Mercado da Imagem sells art and wall decoration that you can consider for a nonreflective focal point.
How do I keep the photographer out of a mirror reflection?
Test the camera position before taking the final listing photographs. Adjust the viewpoint and surrounding objects, then inspect the whole image to confirm that the room is represented accurately.
One last thing
Before approving your 2026 staging photos, cover the mirror temporarily and compare the room with and without it. If the uncovered version adds only glare, clutter, or a competing focal point, remove the mirror. The strongest staging decision is sometimes leaving the wall alone.