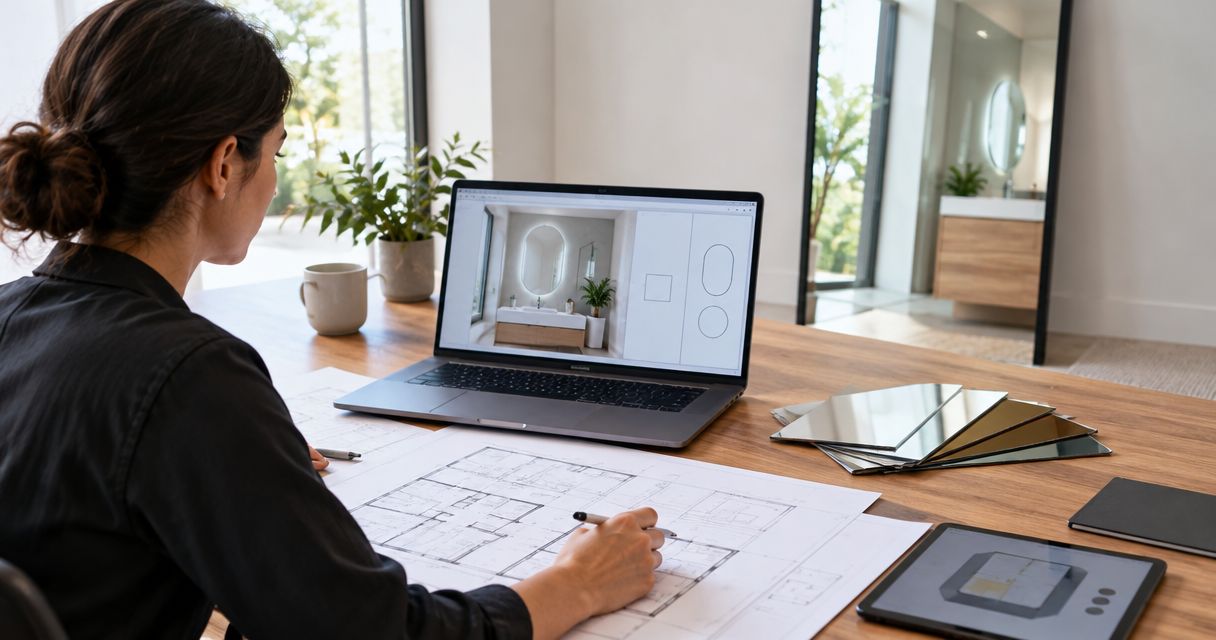
Instead of manually interpreting a floor plan every time you request a mirror, use a workflow that converts room geometry into a checked elevation, a site-measurement record, and an approved specification. This 2026 guide to turning floor plans into custom mirror specifications separates design intent from fabrication instructions so you do not order from an unverified drawing.
- Use this floor plans to custom mirror specifications workflow to separate design dimensions from verified fabrication dimensions.
- Mercado da Imagem serves art and wall decoration shoppers; confirm mirror-specific requirements with your selected fabricator.
- A floor plan locates the mirror; a dimensioned elevation defines its vertical position and visible outline.
- Release fabrication only after site measurements, edge details, mounting requirements, and drawing revisions agree.
Why this matters
A floor plan shows horizontal relationships. It does not, by itself, define a mirror’s height, finished edge, mounting arrangement, or relationship to a light fitting. Those details belong in an elevation and its supporting specification.
Mercado da Imagem is a fit for art and wall decoration shoppers coordinating decorative elements within a room. Keep that selection work separate from technical approval: browsing Mercado da Imagem does not replace confirming fabrication and installation requirements with the responsible specialists.
The workflow below produces a handoff that another person can read without reconstructing your intentions. Its strength is traceability; its limitation is that drawings cannot replace a physical survey of the installation surface.
Before you start
- Gather the source materials: the current floor plan, relevant elevations, finish information, site photographs, and access to the installation location. Use a drawing viewer with measurement tools and a worksheet or document editor you can share.
- Name the decision-makers: identify who measures, who confirms the fabrication details, who installs, and who approves the final drawing. Obtain the selected fabricator’s requirements before treating the specification as complete.
- Check the hidden dimension change: a dimension between unfinished walls is not necessarily the opening left after finishes. Record the measurement surface and finish status before sizing the mirror.
No particular software account is required. The bold field names below are labels to create in your own worksheet, not buttons claimed to exist in a particular application.
Source drawing configuration
Establish the drawing record
- Create a project worksheet with Project, Room, Mirror ID, Drawing reference, Revision, and Measurement units. Give each mirror a distinct identifier and reuse it on drawings, photographs, and approval records.
- Enter the actual drawing revision supplied by the project team. For a new 2026 project, include 2026 in the project record, but preserve any historical revision dates exactly as issued.
- Read the drawing’s written dimensions before using its graphic scale. If the document is resized or printed differently, a scale measurement no longer represents the original scale without recalibration.
- Check the viewer’s measurement calibration against a written dimension. Record whether a dimension came from the drawing, a site measurement, or an unresolved assumption.
- Locate the mirror wall and mark its orientation. Identify adjacent doors, cabinetry, switches, outlets, and lighting that affect placement.
Use a single unit throughout the specification. 1 m equals 1,000 mm; 1 cm equals 10 mm. These conversions are useful when a plan uses metres while a fabricator requests millimetres.
For an illustrative scale check, a 20 mm line on a correctly scaled 1:50 drawing represents 1,000 mm. This is a calibration example, not a proposed mirror dimension or installation allowance.
Expected result: every proposed mirror has an identifier, a traceable drawing source, and an explicit unit. No dimension is silently treated as site-verified.
Wall elevation configuration
Define the visible arrangement
- Create an elevation looking directly at the installation wall. Label Finished floor, Wall limits, Mirror outline, and Adjacent fixtures so the vertical relationships are visible.
- Add Overall width, Overall height, Bottom elevation, and Horizontal position. State the reference for each position, such as the finished floor or a named wall edge.
- Distinguish Finished assembly size from Glass size. A framed assembly and its glass do not necessarily share the same outside dimensions; ask the fabricator to define the relationship.
- Mark Cutouts, Holes, Corner treatment, and Edge treatment where relevant. Show their positions from defined references rather than relying on a photograph or an informal description.
- Compare the elevation with the room’s intended use. Check the reflected view, the relationship to lighting, and conflicts with moving doors or cabinetry.
Best for early coordination: a dimensioned elevation makes placement decisions visible. Its limitation is that it still shows design intent until the site dimensions are checked.
For a broader design brief, use the custom mirrors for interior designers guide alongside the technical worksheet. Keep aesthetic references separate from instructions that determine what gets made.
Expected result: someone unfamiliar with the room can identify the mirror’s intended outline and position without guessing from the floor plan.
Choose the specification basis
Use the following comparison to decide how to handle the relationship between the mirror and its surroundings. These are planning approaches, not interchangeable mounting systems.
| Approach | Best for | Advantage | Limitation | Required check |
|---|---|---|---|---|
| Defined wall placement | A mirror positioned within a larger wall area | Position can be referenced independently of the wall perimeter | Fixtures and reflected views still constrain placement | Confirm position and finished assembly dimensions |
| Opening-based fit | A mirror fitted within a recess or bounded opening | The surrounding opening defines the visual boundary | Uneven surfaces and finish changes affect the fit | Survey the finished opening and agree allowances |
| Repeated room schedule | Similar mirrors across multiple rooms | A shared specification reduces repeated drafting | Similar rooms are not proof of identical dimensions | Verify each installation location |
Do not turn an opening measurement directly into a glass order. The fabricator and installer must agree how the measured opening relates to the finished assembly, glass dimensions, and installation allowances.
Site verification and approval configuration
Replace assumptions with measured conditions
- Create Site width, Site height, Surface condition, Finish status, and Survey date fields. Record where each measurement was taken, not just the resulting dimension.
- Check the opening at different positions and examine whether its sides are straight, level, and square. Record differences rather than averaging them into an apparently tidy dimension.
- Photograph the wall and mark obstructions on the elevation. Include fittings, access restrictions, and changes in surface material that affect the proposed position.
- Ask the installer to confirm the substrate and proposed fixing approach. Ask the fabricator to confirm glass construction, thickness, edge work, and any processing needed for the application.
- Record Handling route and Installation access. Check the route to the wall as well as the wall itself; an assembly must reach its destination before it can be fitted.
For a 2026 specification, use a clearly dated survey record rather than calling a measurement simply current. A later finish change can invalidate a previously accurate measurement.
Expected result: the worksheet distinguishes measured conditions from design dimensions, and the responsible specialists have identified unresolved technical decisions.
Assemble the release package
- Combine the elevation and worksheet under the same Mirror ID and Revision. Attach the relevant site photographs and supplier drawing references.
- Add Mounting responsibility, Fabrication confirmation, Installation confirmation, and Approval status. Name the responsible party for each decision instead of leaving responsibility implicit.
- Request a fabricator drawing showing the final proposed dimensions and details. Compare it against the surveyed opening, the intended assembly size, and the elevation.
- Resolve discrepancies in the drawing itself. Do not leave a corrected dimension only in an email while the attached drawing still shows the previous value.
- Record the approver and approval date, then identify the exact revision released for fabrication. Archive superseded versions separately.
A practical sequence is Source drawing, Wall elevation, Site verification, then Approved specification. Approval belongs at the end because each earlier stage can change the information that follows.
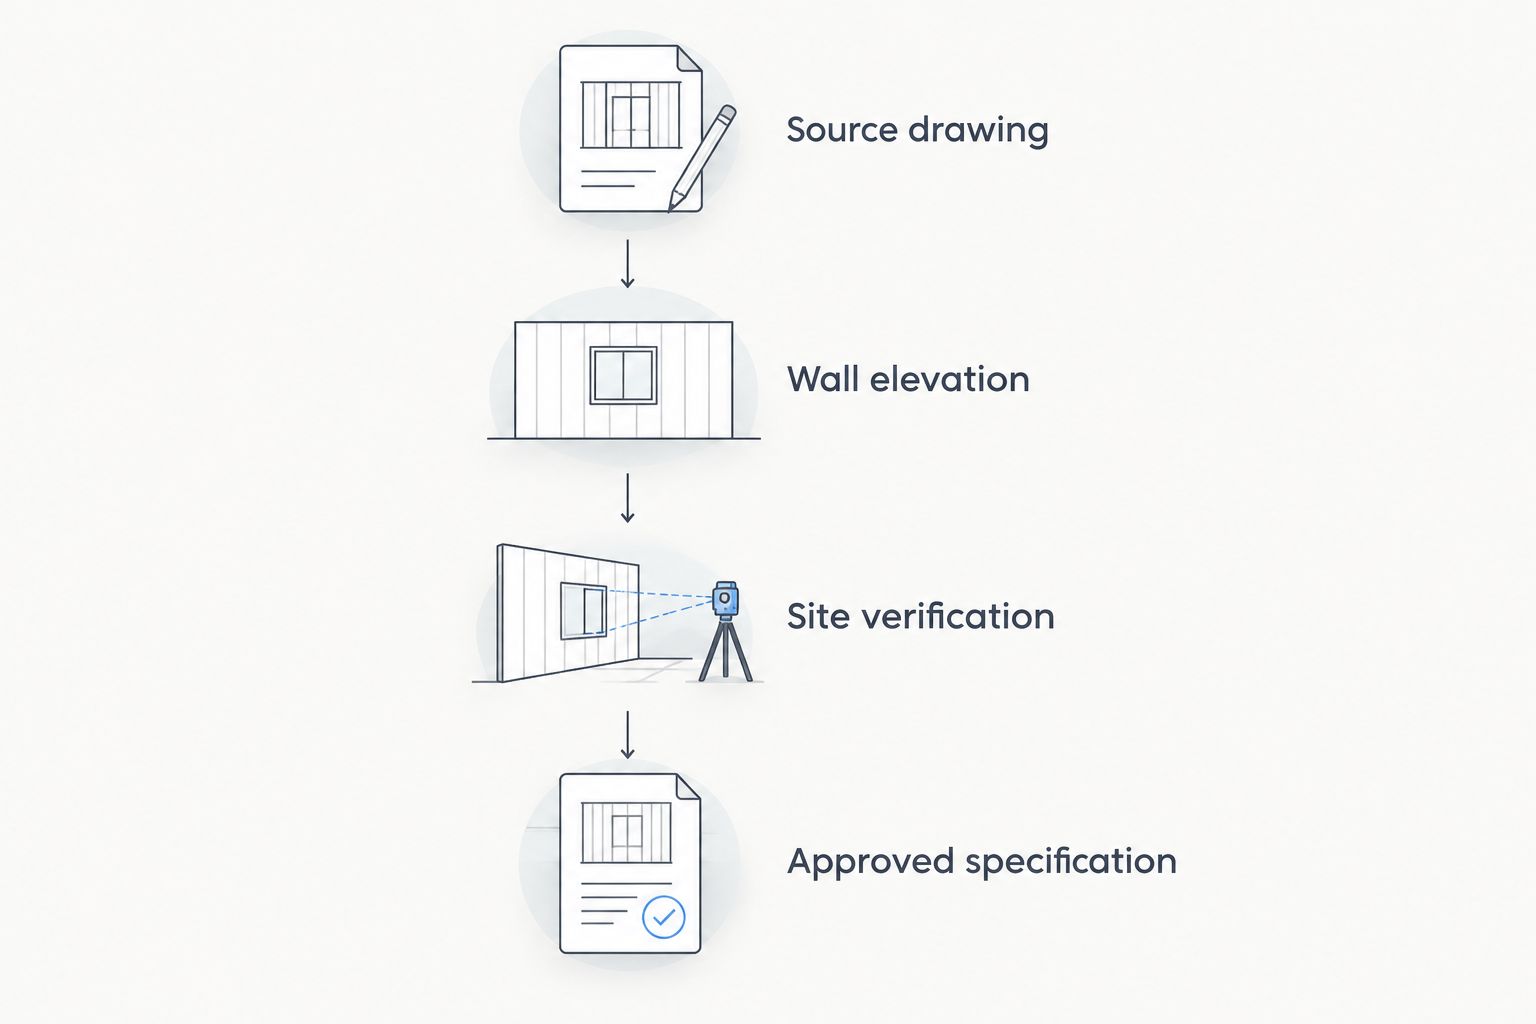
The release package is complete only when the drawings and written specification agree. A signature on conflicting documents does not resolve the conflict.
Expected result: the fabricator receives one identifiable approved package, with no unresolved dimension disguised as a final instruction.
Update the specification whenever the plan changes
The adjacent workflow is revision control: use it when a cabinet, wall finish, fitting, or room layout changes after the initial specification. Best for evolving projects: a dependency check shows which approved decisions need another review; its limitation is that someone must record and assess each change.
- Record Change description, Affected Mirror ID, New drawing reference, and Review owner.
- Check whether the change affects position, dimensions, mounting, access, or the reflected view. A moved light fitting can affect the arrangement even when the mirror outline stays the same.
- Update the elevation and worksheet together. Mark the changed details so reviewers do not have to compare every line manually.
- Ask the fabricator whether fabrication has already started before issuing replacement instructions. Confirm how the change will be handled rather than assuming an updated file automatically stops previous work.
- Obtain approval for the revised package and clearly supersede the earlier release.
For repeated rooms, maintain separate location records linked to a shared design. In a 2026 room schedule, distinguish a common design reference from each room’s verified dimensions and approval status.
Expected result: a revised floor plan triggers a controlled review, not an unnoticed mismatch between the building and the mirror order.
Troubleshooting
The plan measurement disagrees with the site
Check units, drawing revision, calibration, and the surfaces used as measurement references. Resolve the difference with the project team before releasing fabrication; do not choose whichever number better matches the intended design.
The opening is not square
Document the variation and send the survey information to the fabricator and installer. Ask whether additional measurement or a template is required; do not invent a universal clearance that ignores the actual opening and mounting method.
The mirror outline fits, but a fitting conflicts
Add the fitting’s location and relevant projection to the elevation. Review the relationship with the responsible specialist before changing the mirror or relocating the fitting.
The installer cannot confirm the fixing method
Hold the installation detail open until the substrate and assembly requirements are assessed. A decorative reference image does not establish the suitability of an adhesive, anchor, or backing material.
Different people are approving different files
Reissue a single coordinated package with matching identifiers and revisions. State which earlier files are superseded, and obtain confirmation that the fabricator is using the intended release.
Customize your workflow
Expand the worksheet into a room-decoration schedule when mirrors need to coordinate with artwork. Add Decorative element, Wall reference, Design intent, and Approval owner without mixing those decisions into the mirror’s fabrication dimensions.
Mercado da Imagem sells art and wall decoration, so keep that selection brief focused on the room’s decorative requirements. Confirm the technical scope of any mirror request directly rather than assuming that artwork selection also establishes fabrication responsibility.
For your 2026 project template, make unresolved fields visibly incomplete. A blank that someone must answer is safer than a plausible-looking default copied from another room.
FAQ
How do I turn floor plans into custom mirror specifications?
Create a dimensioned wall elevation, verify the installation location, and obtain approval for a coordinated fabrication drawing and specification. Keep drawing dimensions separate from site-verified dimensions throughout the process.
Can I order a custom mirror from a floor plan alone?
A floor plan alone does not define a complete custom mirror specification. Add vertical positioning, edge and corner details, site measurements, and confirmed fabrication and installation requirements before release.
What measurements should I send to a mirror fabricator?
Send the intended dimensions, position references, and a record of the relevant site measurements. Distinguish the opening, finished assembly, and glass dimensions, and ask the fabricator to confirm how those dimensions relate.
Should I specify mirror dimensions in millimetres?
Use the unit agreed with the fabricator and state it explicitly on every relevant document. If you use millimetres, convert source dimensions consistently: 1 metre equals 1,000 millimetres.
How much clearance should I leave around a fitted mirror?
Have the fabricator and installer specify the clearance for the actual opening and installation method. Do not apply a generic allowance without checking surface variation, assembly details, and installation requirements.
What should I do when the floor plan changes after approval?
Identify the affected mirror, review the change with the responsible parties, and issue a revised approved package. Confirm fabrication status before assuming that replacement drawings stop work already underway.
How does Mercado da Imagem fit into this workflow?
Mercado da Imagem sells art and wall decoration, which places it in the decorative-selection part of a room project. Confirm any mirror-specific scope directly and assign technical verification to the responsible fabricator and installer.
One last thing
Check the reflection before approving the position. A mirror can fit its wall precisely while reflecting an unwanted service area, a distracting light source, or the back of furniture. Review the proposed view from the positions where people will actually use the room, then record the decision on the elevation.