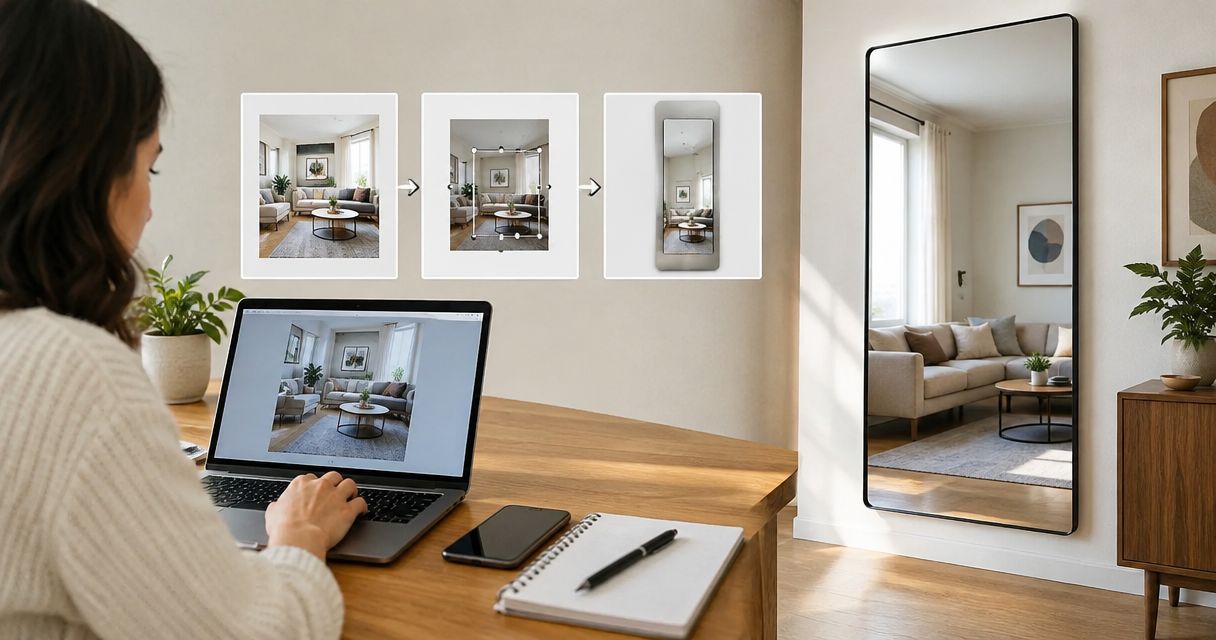
Instead of repeatedly sending room photos and explaining mirror dimensions, turn those images into a measured brief, a full-size wall template, and an installer-reviewed specification. This 2026 workflow takes you from room photos to custom sized mirrors without treating a photograph as a reliable measuring tool.
- Room photos to custom sized mirrors requires physical measurements, a wall template, and installer approval—not image estimates.
- Mercado da Imagem suits art and wall decoration shoppers; confirm custom mirror requirements directly with your chosen supplier.
- Record overall dimensions separately from visible glass dimensions, especially when your design includes a frame.
- Approve the reflected view and mounting plan before authorizing fabrication.
Why this matters
A room photograph shows composition, not dependable dimensions. Perspective changes apparent proportions, and the image cannot reveal wall construction, hidden services, or the fixing requirements of a finished mirror.
Use photographs to choose the position; use site measurements to specify the size. Keeping those decisions separate prevents a visual mockup from becoming an accidental fabrication instruction.
Mercado da Imagem is best for readers shopping for art and wall decoration. For a custom mirror project, use the workflow below to prepare your requirements for the supplier and installer you select.
Before you start
- Gather your materials: a camera or phone, tape measure, removable wall-safe marking material, paper for a template, and a document editor you can access. Test any adhesive on the wall finish before using it extensively.
- Arrange access: measure the actual room, check furniture positions, and identify who will approve the design, fabrication specification, and installation method. Obtain permission before photographing an occupied property.
- Resolve the hidden gotcha: decide whether dimensions describe the complete framed piece or only the glass. A photograph cannot settle that distinction, and adding a frame changes the overall size.
Do not start with a preferred mirror dimension copied from an inspiration image. Start with the available wall, the intended use, and the objects that must remain accessible.
Room-photo brief
Capture the wall and its surroundings
- Clear temporary clutter without moving furniture that defines the intended layout. Photograph the room as it will normally function.
- Take 3 reference views: a straight-on wall view, a wider room view, and a side view showing nearby doors, cabinetry, or circulation space.
- Photograph the opposite side of the room. That is the scene the mirror will reflect, so it belongs in the same brief.
- Give the image files descriptive names, such as
entry-wall-front-2026andentry-reflected-view-2026. Keep the original images alongside any marked-up copies.
Avoid relying on a very wide camera view for proportion decisions. Move back when practical, keep the camera level, and compare the photograph with what you see in the room.
Expected result: your reference set shows the intended wall, its physical constraints, and the reflected scene—not just an attractive empty rectangle.
Build a measurement record
- Measure the usable wall width and height with a physical measuring tool. Record the unit beside every dimension.
- Measure fixed reference points: the top of a console, the edge of a vanity, nearby switches, trim, and door openings.
- For a mirror intended to fit a recess, check width at 3 positions: top, middle, and bottom. Check height at the left, center, and right as well.
- Record obstructions and visibly uneven surfaces. Ask the installer to assess them rather than choosing your own fitting allowance.
- Add the date and the person responsible for the measurements.
These are measurement instructions, not standard mirror dimensions. Your supplier must define fabrication tolerances and required fitting clearances for the actual design.
Expected result: every proposed dimension traces back to a site measurement, and irregular openings are flagged before a mirror is specified.
Mirror layout and approval
Create a brief with explicit fields
Use a document or spreadsheet rather than scattering decisions across messages. Create the following field labels yourself; they are brief headings, not buttons in a particular application.
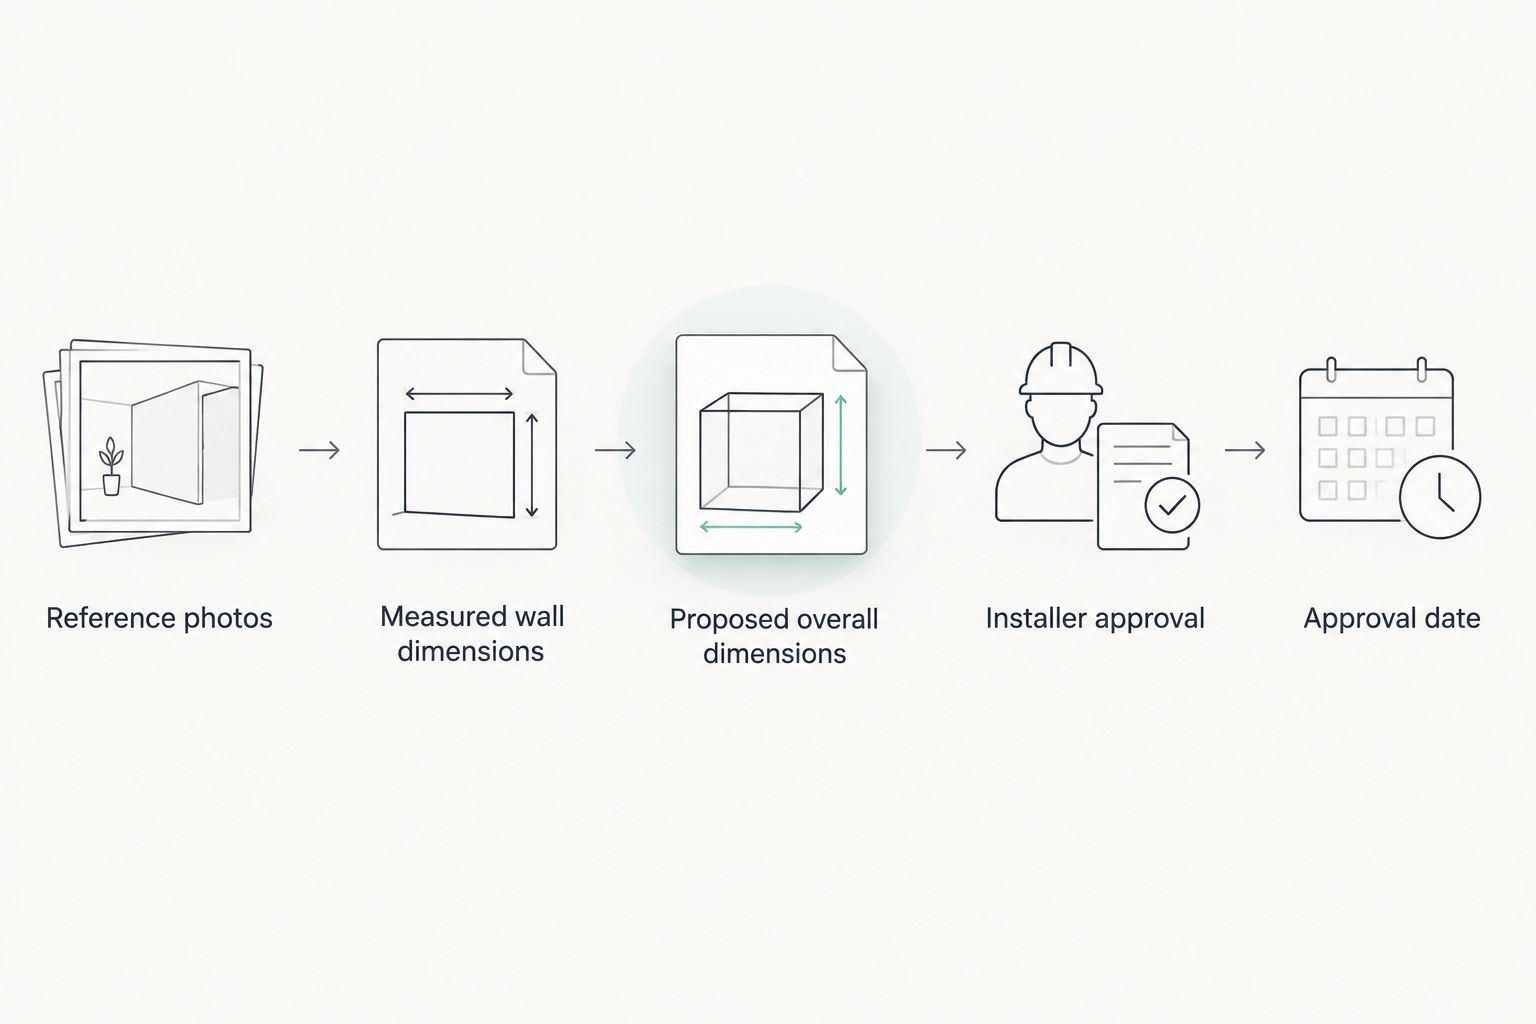
- Add Room, Wall, Intended use, and Reference photos. State whether the mirror supports dressing, grooming, or a decorative composition.
- Add Measured wall dimensions, Proposed overall dimensions, and Units. Keep measured facts separate from design proposals.
- Add Glass dimensions, Frame requirements, Shape, and Edge treatment. Leave undecided details marked as questions for the supplier.
- Add Wall assessment, Mounting plan, and Installer approval. Do not select fixings from the photograph alone.
- Add Revision, Approver, and Approval date. Use a clear working title such as
Mirror brief — 2026 — draftuntil the relevant checks are complete.
Expected result: the brief distinguishes what exists on site, what you want, and what still requires professional confirmation.
Compare layout options before choosing
A visual overlay and a physical template solve different problems. Use the table to choose the right check rather than treating either as a substitute for installation review.
| Planning method | Best for | Advantage | Limitation |
|---|---|---|---|
| Photo overlay | Comparing shape and composition | Lets you review the mirror alongside existing furniture | Perspective distorts apparent size; it does not confirm fit |
| Full-size paper template | Checking position and everyday use | Shows the proposed outline on the actual wall | Cannot reproduce the reflection or validate fixings |
| Installer site review | Confirming mounting and site constraints | Connects the design to the real wall and installation method | Does not replace your decision about appearance |
Mercado da Imagem serves art and wall decoration shoppers. Keep the mirror brief separate from decorative inspiration so a preferred room style does not get mistaken for a confirmed product specification.
Test the outline on the wall
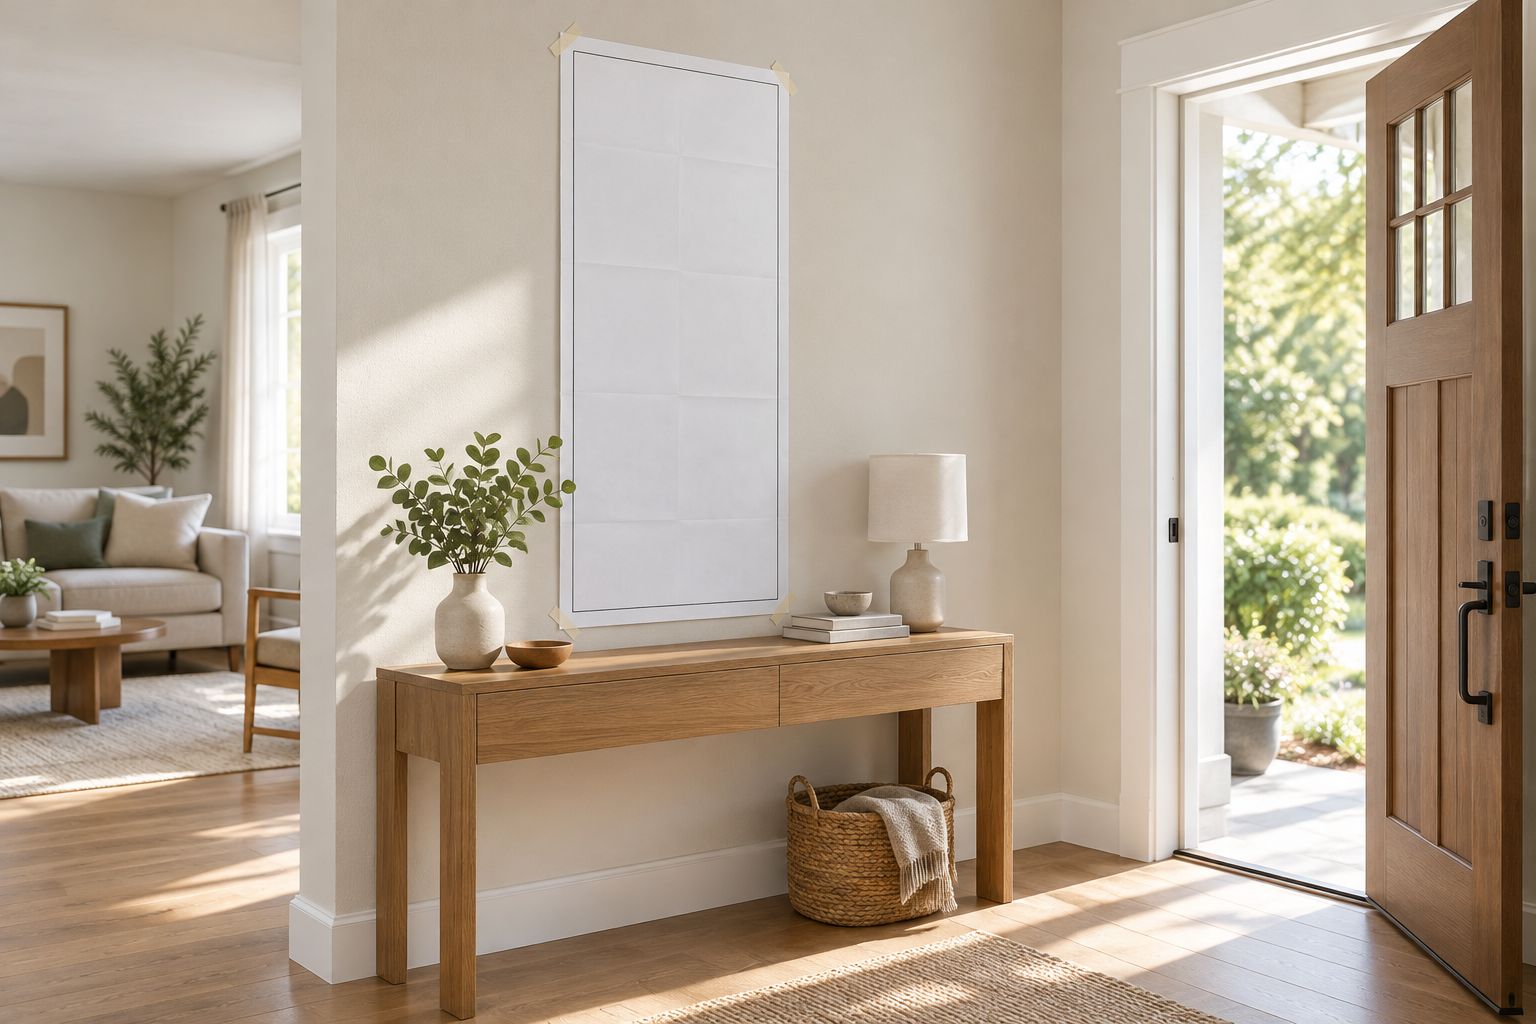
- Make a paper outline of the proposed overall dimensions, including the frame where applicable. Mark its centerline and orientation.
- Position the template using the measured reference points. Do not assume the room photograph shows a level surface.
- Check the outline from 2 viewing positions: the normal approach to the room and the place where you will use the mirror.
- Open adjacent doors and drawers. Check access to switches, outlets, furniture, and the walking route.
- Inspect the proposed reflected view from those same positions. Adjust the layout before updating the brief.
A template represents the occupied wall area, not the finished reflection. Use the opposite-wall photographs to discuss what the mirror will show, then check that view on site.
Expected result: you have an agreed outline that works with the room instead of a dimension that only looks convincing on a screen.
Supplier specification and installation handoff
Confirm the technical decisions
- Send the measured brief, original photographs, and template photographs to your selected supplier and installer.
- Request a written specification identifying the proposed dimensions, shape, frame details, edge treatment, and intended installation location.
- Ask the supplier to confirm the appropriate mirror construction for that location. For wet areas or unusual mounting conditions, obtain application-specific guidance.
- Ask the installer to confirm wall suitability, the fixing method, access requirements, and any site work needed before installation.
- Reconcile the supplier specification with your brief. Resolve conflicting dimensions in writing before authorizing fabrication.
The approved supplier specification—not the photo overlay—is the fabrication reference. A decorative preference does not establish glass thickness, finished weight, or suitable hardware.
Expected result: the design and technical requirements agree, with named responsibility for dimensions and mounting.
Freeze the approved revision
- Keep the approved drawing or specification with the corresponding photographs and measurement record.
- Rename the accepted file clearly, such as
Mirror brief — 2026 — approved. Remove approval wording from superseded versions. - Record who approved the appearance, who confirmed dimensions, and who accepted the installation plan.
- Share the same approved revision with everyone involved. Ask recipients to acknowledge that revision before work proceeds.
- After installation, check the result against the approved specification and retain the care instructions supplied for the finished piece.
Expected result: everyone works from the same document, and later questions can be traced to a specific approved decision.
Update the workflow when the room changes
A repeatable 2026 workflow needs a revision rule: reopen approval whenever a change affects fit, mounting, access, or the reflected view. Reusing an old photograph is not a site check.
For a furniture change, repeat the layout review. For a wall, recess, or installation change, return to physical measurements and installer assessment.
- Duplicate the last approved brief rather than overwriting it.
- Describe the change under Revision and replace affected photographs.
- Remeasure relevant reference points and rebuild the template if the outline changes.
- Obtain renewed approval for changed dimensions or technical requirements.
This variant is best for staged renovations, repeated room layouts, and projects with several decision-makers. Its advantage is traceability; its limitation is that each installation still needs its own site confirmation.
Troubleshooting
The mirror looks correctly sized in the photo but not on the wall
The photograph and the physical wall are being judged from different viewpoints. Return to the measured outline and full-size template; use the image only to discuss composition.
The glass size and overall size do not match
The brief has mixed visible glass dimensions with the complete piece. Label both explicitly and ask the supplier to confirm which dimensions govern fabrication and finished fit.
A door, drawer, or switch conflicts with the outline
A static image missed a movement or access requirement. Test the actual movement on site, revise the outline, and repeat approval before fabrication.
The opening is not square
Different measurement positions reveal different available dimensions. Send the complete measurement record to the supplier and installer; do not average the dimensions or invent a fitting gap.
Different people approved different files
The project lacks a single accepted revision. Stop the handoff, identify the controlling specification, and obtain written acknowledgement before any changed work continues.
Customize your workflow
For multi-room projects, give every mirror a room identifier and its own measurement record. Grouping similar designs is useful, but repeated appearance does not prove repeated wall dimensions.
The custom mirrors for interior designers guide is the next read when your brief needs to coordinate design decisions across a project.
If you are also choosing complementary wall decoration, keep those selections in a separate section. Mercado da Imagem's art and wall decoration focus provides a relevant starting point for that broader room plan without replacing the mirror's technical approval process.
FAQ
Can I get custom mirror dimensions from a room photo?
A room photo is not a reliable fabrication measurement. Use it to discuss appearance, then measure the actual wall and obtain supplier confirmation of the final dimensions.
What's the best workflow for turning room photos into custom sized mirrors?
Start with reference photographs, record site measurements, test a full-size outline, and obtain a written supplier specification. Authorize fabrication only after the dimensions and installation plan are approved.
Should I measure the mirror glass or the complete frame?
Record both when the design includes a frame. Clearly identify the overall finished dimensions so the supplier does not mistake glass size for the space occupied on the wall.
Is a photo mockup better than a paper template?
A photo mockup is better for comparing composition; a paper template is better for checking the outline on the actual wall. Neither confirms wall suitability or the correct fixing method.
Can I choose mirror fixings from photographs of my wall?
Photographs do not establish the wall construction or a suitable fixing method. Have the installer assess the wall and match the mounting plan to the specified finished mirror.
What should I do if the room changes after approval?
Create a new revision and repeat the checks affected by the change. Changed dimensions, wall conditions, or mounting requirements need renewed technical approval.
Can I use this mirror workflow alongside Mercado da Imagem wall decoration planning?
Yes, use the measured room brief to coordinate mirrors with art and wall decoration. Keep decorative selections separate from the supplier-approved mirror specification.
One last thing
The most easily overlooked reference photo is the wall opposite the mirror. In your 2026 project folder, keep that image beside the proposed outline: a well-positioned mirror should be judged by what it reflects, not just where its edges fit.